Bathrooms are one of the trickiest spaces to maintain, especially when it comes to paint.
High humidity, constant temperature changes, and frequent exposure to water can wreak havoc on your walls – specifically, on its coat of paint.
But fret not: the good news is that most common bathroom paint problems are fixable with the right approach!
So, without further ado, here are Common Bathroom Paint Problems and How to Fix Them.
1. Peeling or Flaking Paint
The Problem:
Peeling paint is one of the most common bathroom paint problems.
This is because of the high humidity present in the space, but also because of faulty painting methods, like poor surface preparation, or using the wrong kind of paint.
The Fix:
- Remove Loose Paint: Start by scraping off any peeling or flaking paint with a putty knife. Sand the area after to smoothen out the edges.
- Prime the Surface: Apply a high-quality primer designed for high-moisture areas. This helps the new paint adhere better.
- Use the Right Paint: Choose a paint specifically formulated for bathrooms. Semi-gloss or satin finishes are ideal as they resist moisture better than matte paints.
- Ventilation is Key: Improve airflow in your bathroom by installing or upgrading an exhaust fan, or simply keeping the door or windows open after showers.
2. Mold and Mildew Growth
The Problem:
Mold and mildew are also another common bathroom paint problem as they often thrive in the warm, humid conditions of bathrooms.
Characterized by black, green, or brown spots on your walls or ceilings, these blemishes might seem like a simple fix with a fresh coat of paint.
However, painting over them won’t solve the underlying issue—in fact, it may provide the perfect environment for them to reappear and spread.
The Fix:
- Clean Thoroughly: Before painting, you’ll want to address the mold/mildew issue first. Mix 1/4 bleach with 3/4 water, and use the mixture to the affected areas with a sponge or a brush. Wear protective gloves, and make sure that the area is well-ventilated.
- Apply Anti-Mold Products: Use a mold-killing primer or paint additive to prevent future growth.
- Choose Mildew-Resistant Paint: Many bathroom paints now come with built-in mildew resistance. Look for these when repainting.
- Control Humidity: Again, ventilation is your best friend. Consider a dehumidifier if your bathroom has chronic moisture issues.
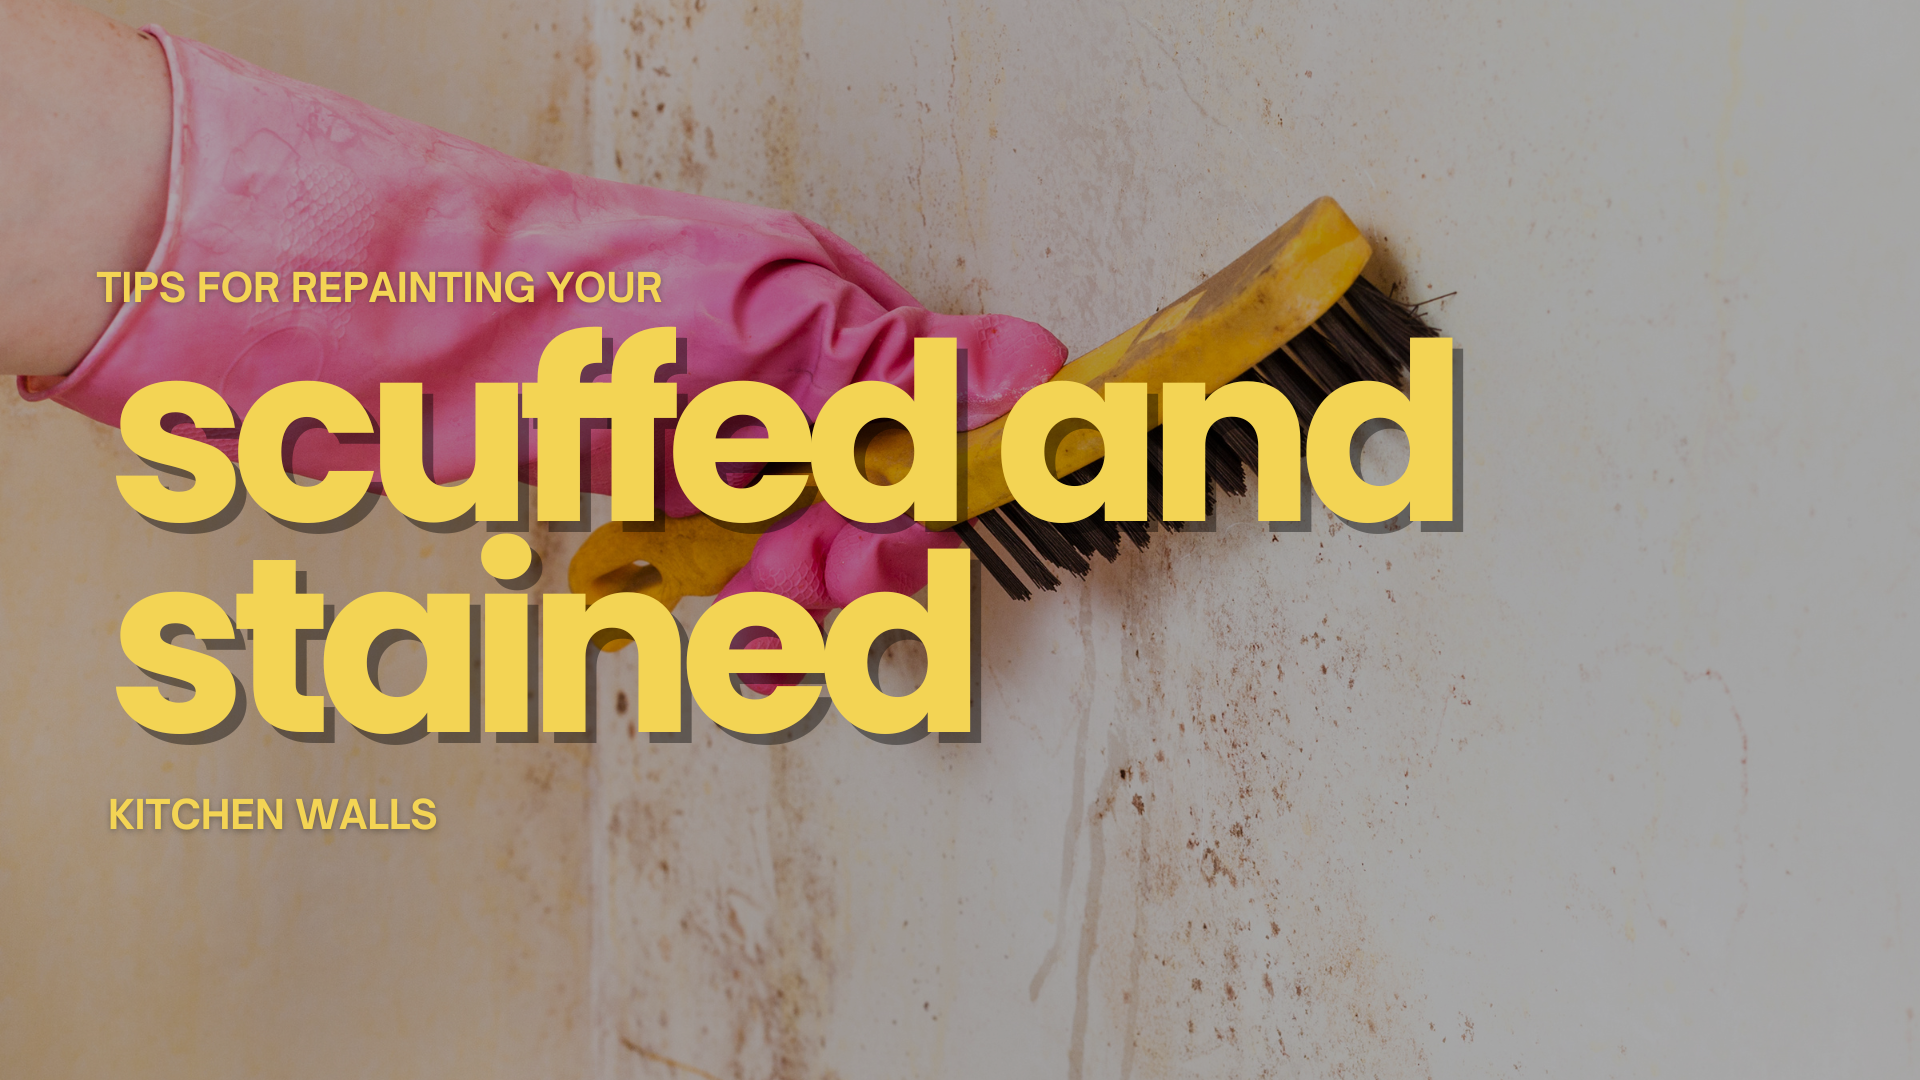
3. Stubborn Stains
The Problem:
Over time of repeated usage, stains might appear on over your bathroom interior – may it be from hard water, rust, or previous mold.
While some of these can easily be cleaned with a brush and some form of cleaning solution, some of these may be resistant to any amount of cleaning.
The Fix:
Instead of spending endless hours trying to scrub these off your walls, you should opt for a more efficient and permanent solution – a fresh coat of paint.
In doing this, you should:
- Identify the Source First: Fix the root cause of the stain first, whether it’s a plumbing leak, roof issue, or poor ventilation.
- Seal the Stain: Apply a stain blocking primer to the affected area. These kind of primers are ideal as they are formulated to seal stains and prevent them from seeping through your topcoat.
- Repaint: Once the primer is dry, apply two coats of bathroom-friendly paint for a uniform finish.
4. Cracking or Bubbling Paint
The Problem:
Cracking and bubbling are usually signs that moisture is sneaking into your paint job.
The Fix:
- Scrape and Sand: Remove the cracked or bubbled paint completely and sand the surface to smooth it out.
- Check for Moisture: Ensure the wall is dry before repainting. If there’s persistent dampness, you may need to address water intrusion or insulation issues first.
- Apply a Primer: Use a moisture-resistant primer to seal the surface and prepare it for a fresh coat of paint.
- Paint in Thin Layers: Apply paint in thin, even coats, allowing ample drying time between applications.
5. Paint Discoloration
The Problem:
With constant exposure to sunlight and/or cleaning solutions and harsh substances, your bathroom’s coat of paint loses its vibrant color or develops a yellowed appearance.
This is also the same for a coat of paint that has aged past its prime – a natural occurrence, and a clear indicator that it’s due for a fresh coat.
The Fix:
- Clean the Walls: Dirt and grime buildup can sometimes mimic discoloration. Clean your walls with a mild soap solution to see if the problem is surface-level.
- Upgrade Your Paint: Invest in high-quality paint with fade-resistant and moisture-resistant properties.
- Improve Lighting: Consider adding better lighting in your bathroom to counteract dimness that makes discoloration more noticeable.
- Repaint: Apply a fresh coat of paint to bring your bathroom back to life, ensuring you use a finish that resists fading.
At New Haven Painters, we offer affordable, reliable, and durable painting services in New Haven, Branford, Milford, Orange, North Haven, West Haven, East Haven, and the surrounding areas for CT.
Book a FREE estimate below to get started or call us at (203) 606-2346 to talk about your project.
Related: Tips To Prevent Mess In Your Ceiling Painting Project in Branford, CT
When and Why to Use Primer for Painting in Milford, CT


CONTACT US
For more information, call or text us at (203) 606-2346 or fill out the form below.
Contact Us
Servicing All of Connecticut
NHP is an Affirmative Action/Equal Opportunity Employer.
Quick Links
Licensed • Bonded • Insured
#HIC.0645324