Your kitchen space is often the busiest and most active rooms in your home – exposed to the constant ‘bouts of wear and tear that is accompanied by the daily activities you do in the space.
Thus, paint problems in kitchen spaces are quite common.
From peeling to stains, kitchen walls and cabinets can experience wear and tear faster than other areas of the home.
So, if you are currently burdened by this dilemma, here's an enlightening fix to that!
Check out this list of
Common Kitchen Paint Problems And Their Fix.
1. Peeling Paint: Caused by Moisture and Heat
Peeling paint is a frequent issue in kitchens, often triggered by moisture buildup from cooking or steam from appliances.
High humidity can cause paint to lose adhesion, particularly around stoves, sinks, or windows.
How to Fix It:
- Identify and Remove the Source of Moisture: Check for leaks around windows, sinks, and plumbing. Use exhaust fans to improve ventilation while cooking or boiling water.
- Scrape and Sand the Affected Area: Remove the peeling paint with a putty knife or scraper. Sand the edges to smooth out the surface.
- Apply a Moisture-Resistant Primer: Choose a primer designed for high-humidity areas to help the new paint adhere better.
- Repaint with Semi-Gloss or Satin Finish: These finishes are more resistant to moisture and easier to clean than matte paint.
By improving ventilation and using appropriate materials, you can prevent further peeling in the space and preserve your kitchen’s appearance.
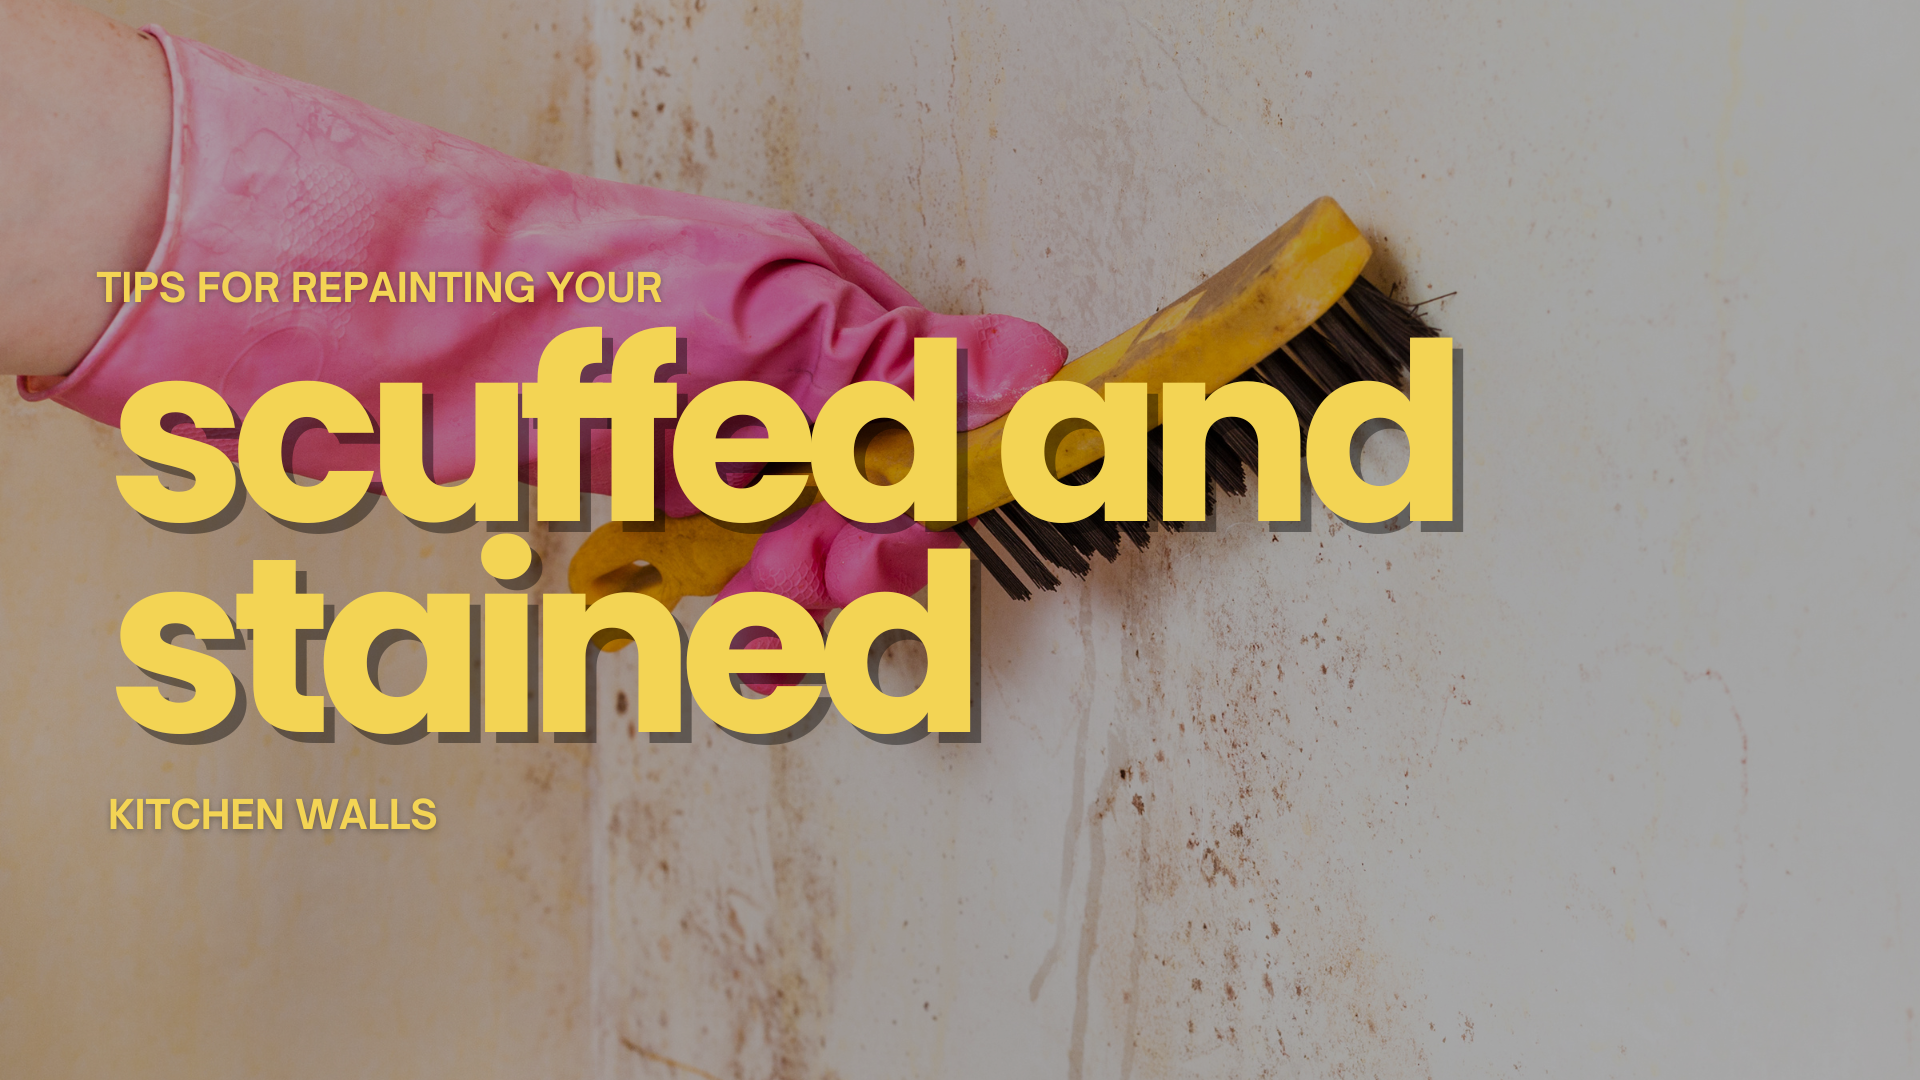
2. Stains on the Walls: Grease, Food, and Water Marks
Because of the functionality of the space, your kitchen walls are constantly exposed to splatters from cooking oils, sauces, and water.
Over time, these stains can seep into the paint, leaving unsightly, stubborn marks that may prove to be a challenge to scrub off and clean.
How to Fix It:
- Clean the Stains Thoroughly: Use a mix of water and mild detergent or vinegar to wipe away stains. For tougher grease, try a degreaser or baking soda paste.
- Apply a Stain-Blocking Primer: If stains have penetrated the paint, prime the area with a stain-blocking primer to prevent bleed-through.
- Repaint with Washable Paint: Opt for high-quality washable paints, such as those with a satin or semi-gloss finish. These paints allow for easier cleaning without damaging the surface.
To reduce future stains, consider installing a backsplash behind stoves and sinks for added protection.
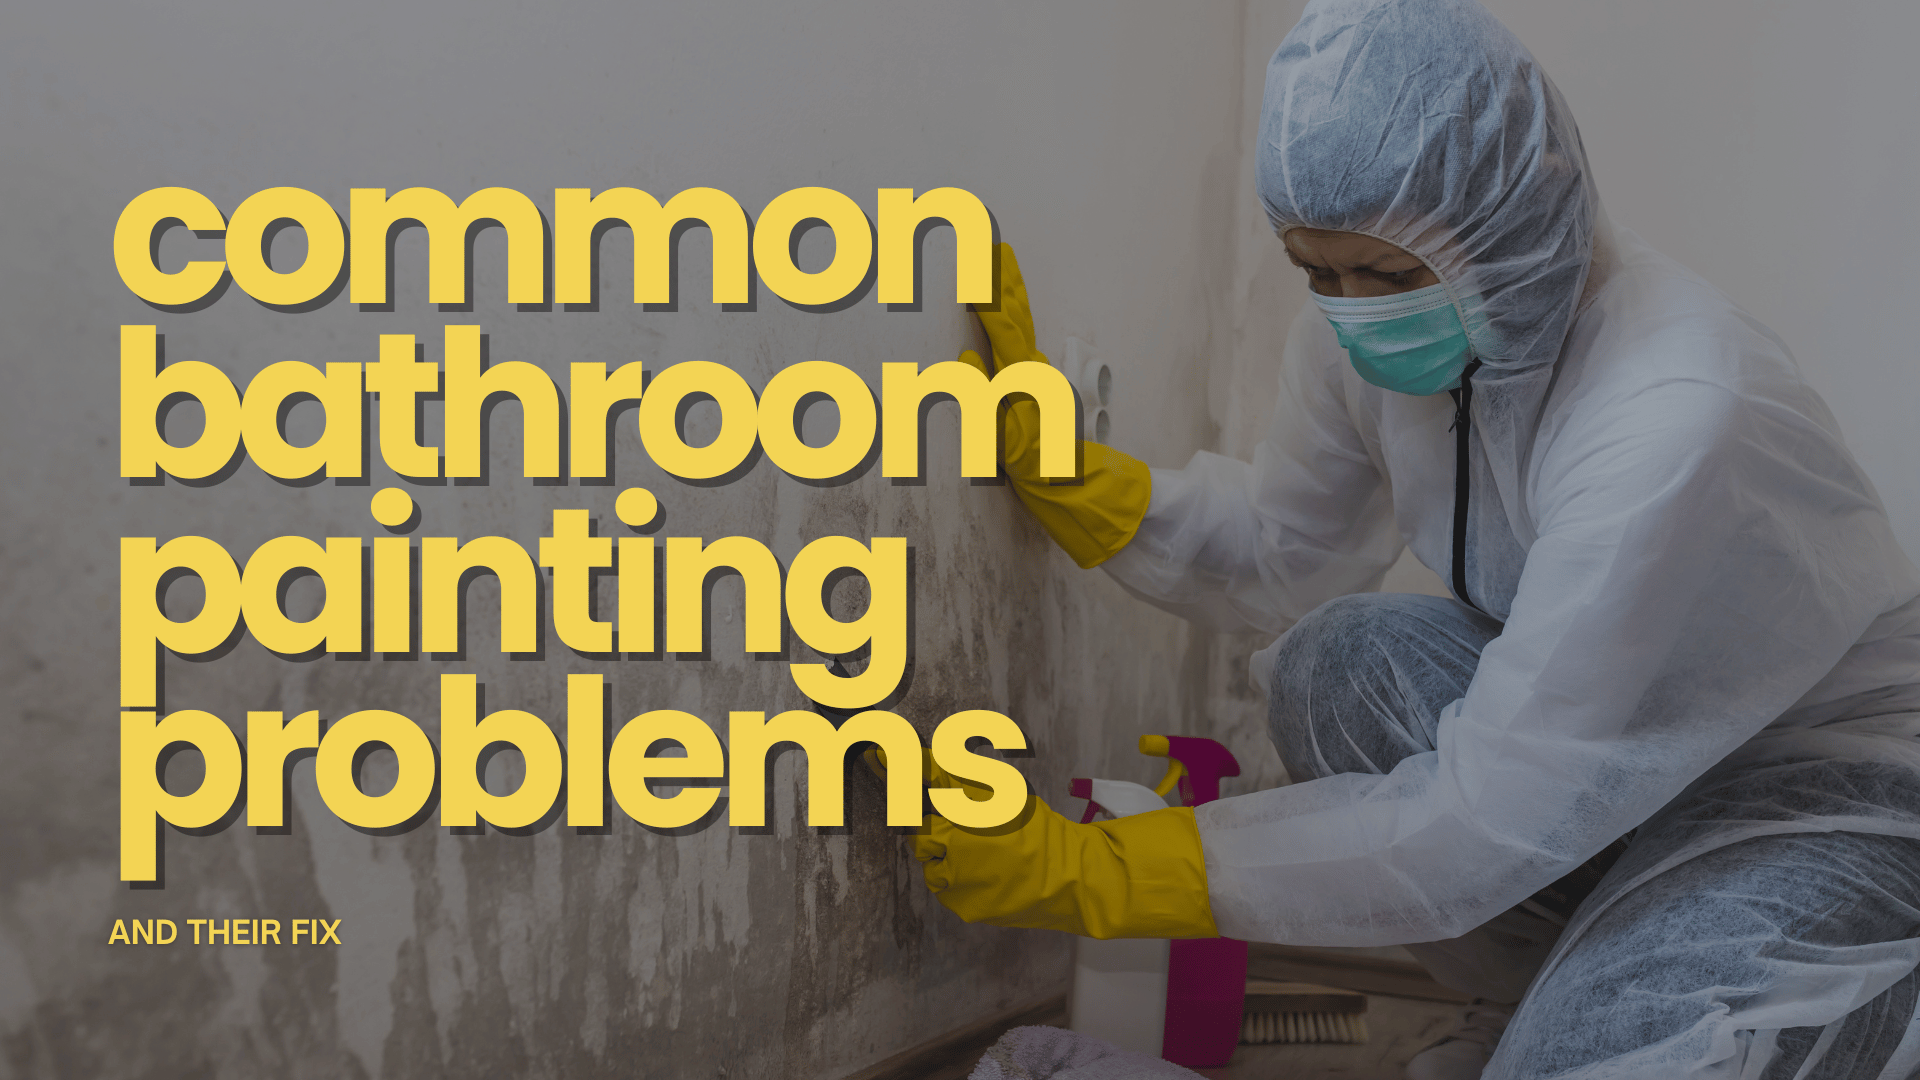
3. Paint Bubbling: Trapped Moisture or Poor Adhesion
Kitchen spaces are often in proximity to water and moisture, which also affects the overall durability of your kitchen’s coat of paint in the long run.
When moisture gets trapped beneath the paint layer or if you’re painting on a damp surface, bubbling paint occurs.
This is a common problem in interior spaces with high humidity, proximity to sources of heat, or an overall lack of primer application prior to painting.
How to Fix It:
- Pop and Scrape Away the Bubbles: Use a scraper or knife to remove the bubbles and loose paint.
- Check for Moisture Issues: Inspect nearby pipes, faucets, or windows for leaks. Improve ventilation in your kitchen to reduce trapped moisture.
- Sand and Re-prime the Area: Sand the surface to remove uneven spots, and apply a primer suitable for high-moisture environments.
- Use the Right Paint for Kitchen Surfaces: Choose moisture-resistant paint, such as semi-gloss or eggshell, for areas prone to bubbling.
4. Cracking or Crazing: Paint Layers Forming Fine Cracks
Cracking, or “crazing,” occurs when the paint dries unevenly, leading to a network of fine cracks.
This problem is often caused by applying paint too thickly or painting over an improperly prepared surface.
How to Fix It:
- Remove the Cracked Paint: Use a scraper or sandpaper to remove the damaged area, ensuring a smooth surface.
- Prime the Area Properly: Applying a primer ensures better adhesion and helps paint dry evenly.
- Use Thin, Even Coats of Paint: Avoid applying paint too thickly. It’s better to use multiple thin layers rather than one heavy coat.
- Choose High-Quality Paint: Using good-quality kitchen paint with added flexibility reduces the risk of cracking over time.
5. Fading Paint: Sunlight and Frequent Cleaning
Lastly, kitchen walls and cabinets are subject to frequent wiping, which can wear down the paint over time.
Additionally, constant exposure to sunlight from nearby windows can cause colors to fade, leaving uneven patches on the walls or cabinets.
How to Fix It:
- Choose UV-Resistant Paint: If your kitchen gets direct sunlight, use paint with built-in UV protection to prevent fading.
- Limit Harsh Cleaning Products: Use gentle cleaners instead of abrasive ones to avoid damaging the paint finish.
- Repaint with Durable, Scrubbable Paints: Look for kitchen-specific paints that can withstand frequent washing without fading or dulling.
- Install Window Treatments: Curtains or blinds can reduce direct sunlight exposure and prevent fading on walls and cabinets.
At New Haven Painters, we offer affordable, reliable, and durable painting services in New Haven, Branford, Milford, Orange, North Haven, West Haven, East Haven, and the surrounding areas for CT.
Book a FREE estimate below to get started or call us at (203) 606-2346 to talk about your project.
Related: Guide To Repainting The Faded Paint On Your Exterior in Milford, CT
Guide To Repainting The Faded Paint On Your Exterior in Milford, CT


CONTACT US
For more information, call or text us at (203) 606-2346 or fill out the form below.
Contact Us
Servicing All of Connecticut
NHP is an Affirmative Action/Equal Opportunity Employer.
Quick Links
Licensed • Bonded • Insured
#HIC.0645324