While often overlooked, cabinet painting can actually provide a space with a fresh and updated feel – most especially with your bedrooms!
A bedroom cabinet is one of the best ways to freshen up the space without the burden of a full-blown painting project!
But, just because it’s simple doesn’t mean it should be taken easily – a bedroom cabinet can be a messy task if not approached with the right techniques and preparations.
So, if you’re looking for tips and tricks to help you avoid and reduce mess in your upcoming cabinet painting project, you’ve come to the right place!
Here are Bedroom Cabinet Painting Tips to Reduce Mess.
1. Prepare Accordingly
The key to a clean painting project starts with proper preparation, thus, this should be one of the first things you should be doing for your bedroom cabinet painting project!
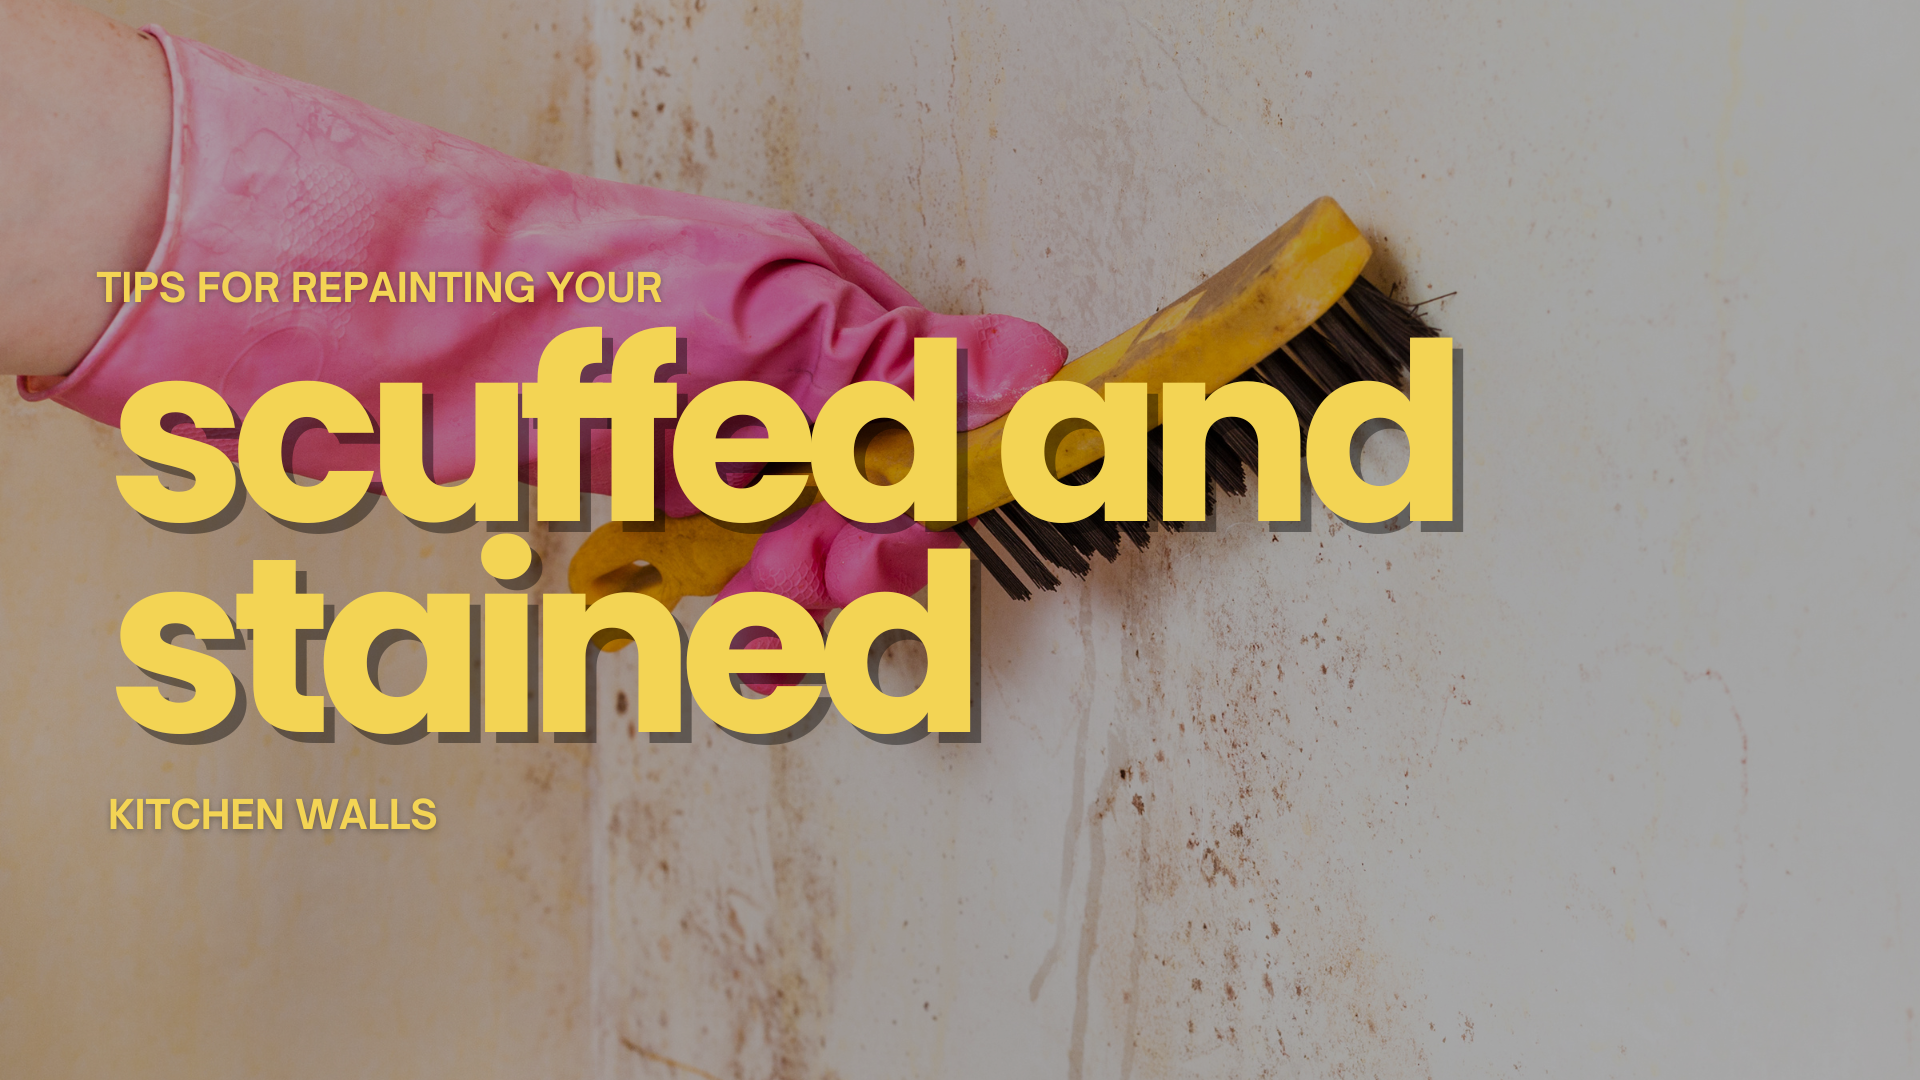
To start, you’ll want to remove all items on your cabinets and clean the surfaces thoroughly.
Over time, various kinds of dirt, grease, and grime might accumulate on your cabinet surface, which can affect paint adhesion, so it’s essential to start with a clean slate.
You can do this with a mild detergent and a brush or a degreaser, and ensure to properly dry your cabinets before proceeding.
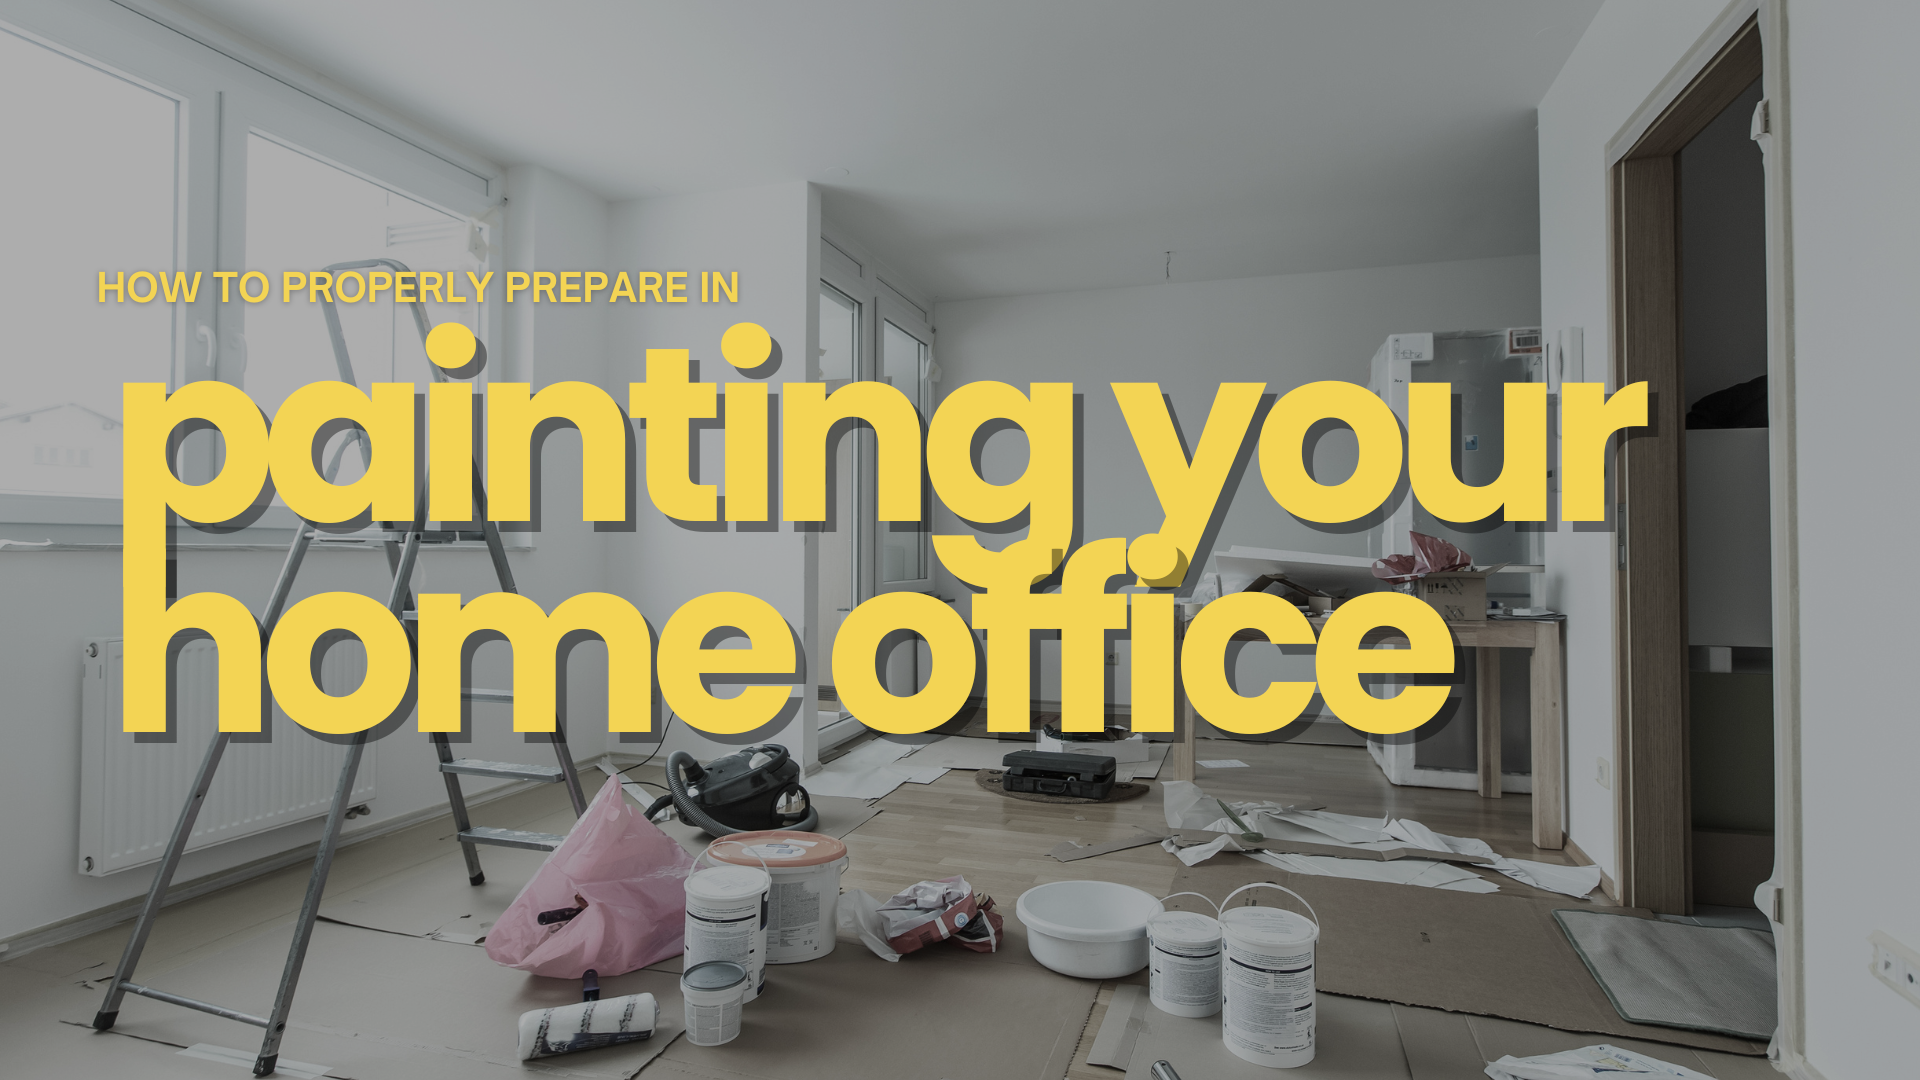
Next, you’ll want to clear the area near where you’re going to be painting and near your cabinets.
This is to ensure that you have a lot of free space to freely move as you proceed with the project, significantly reducing the chances for any accidental spills.
2. Use Painter’s Tape and Drop Cloths
Using painter’s tape and drop cloths will also significantly help in reducing mess for your upcoming painting project.
Painter’s tape will come in handy in avoiding paint smudges and smears when you’re painting over the edges and borders of your cabinets.
By using painter’s tape, you also get to enjoy clean, straight edges for your cabinets.
Drop cloths will come in handy in protecting nearby fixtures and floors from paint drips and spills – which tends to be unavoidable in a painting project, and the exact kind of mess you’re looking to avoid!
Ideally, you’ll want to acquire a canvas-type drop cloths, as this is the kind that doesn’t let paint seep through it, preventing paint stains and marks on your fixtures and floors!
3. Use Quality Tools and Materials
It is important to remember that investing in high-quality tools and materials goes a long way in avoiding mess for your upcoming painting project.
First, you’ll want to have good quality brushes and rollers designed for the type of paint you’re using.
High-quality brushes reduce the chances of shedding bristles, while good rollers minimize lint and ensure smooth application.
When it comes to paint, opt for low-drip and low-splash formulas.
These paints are designed to minimize splattering, making the application cleaner and easier.
Additionally, using a paint tray with a built-in grid can help you control the amount of paint on your roller, reducing the likelihood of drips and splatters.
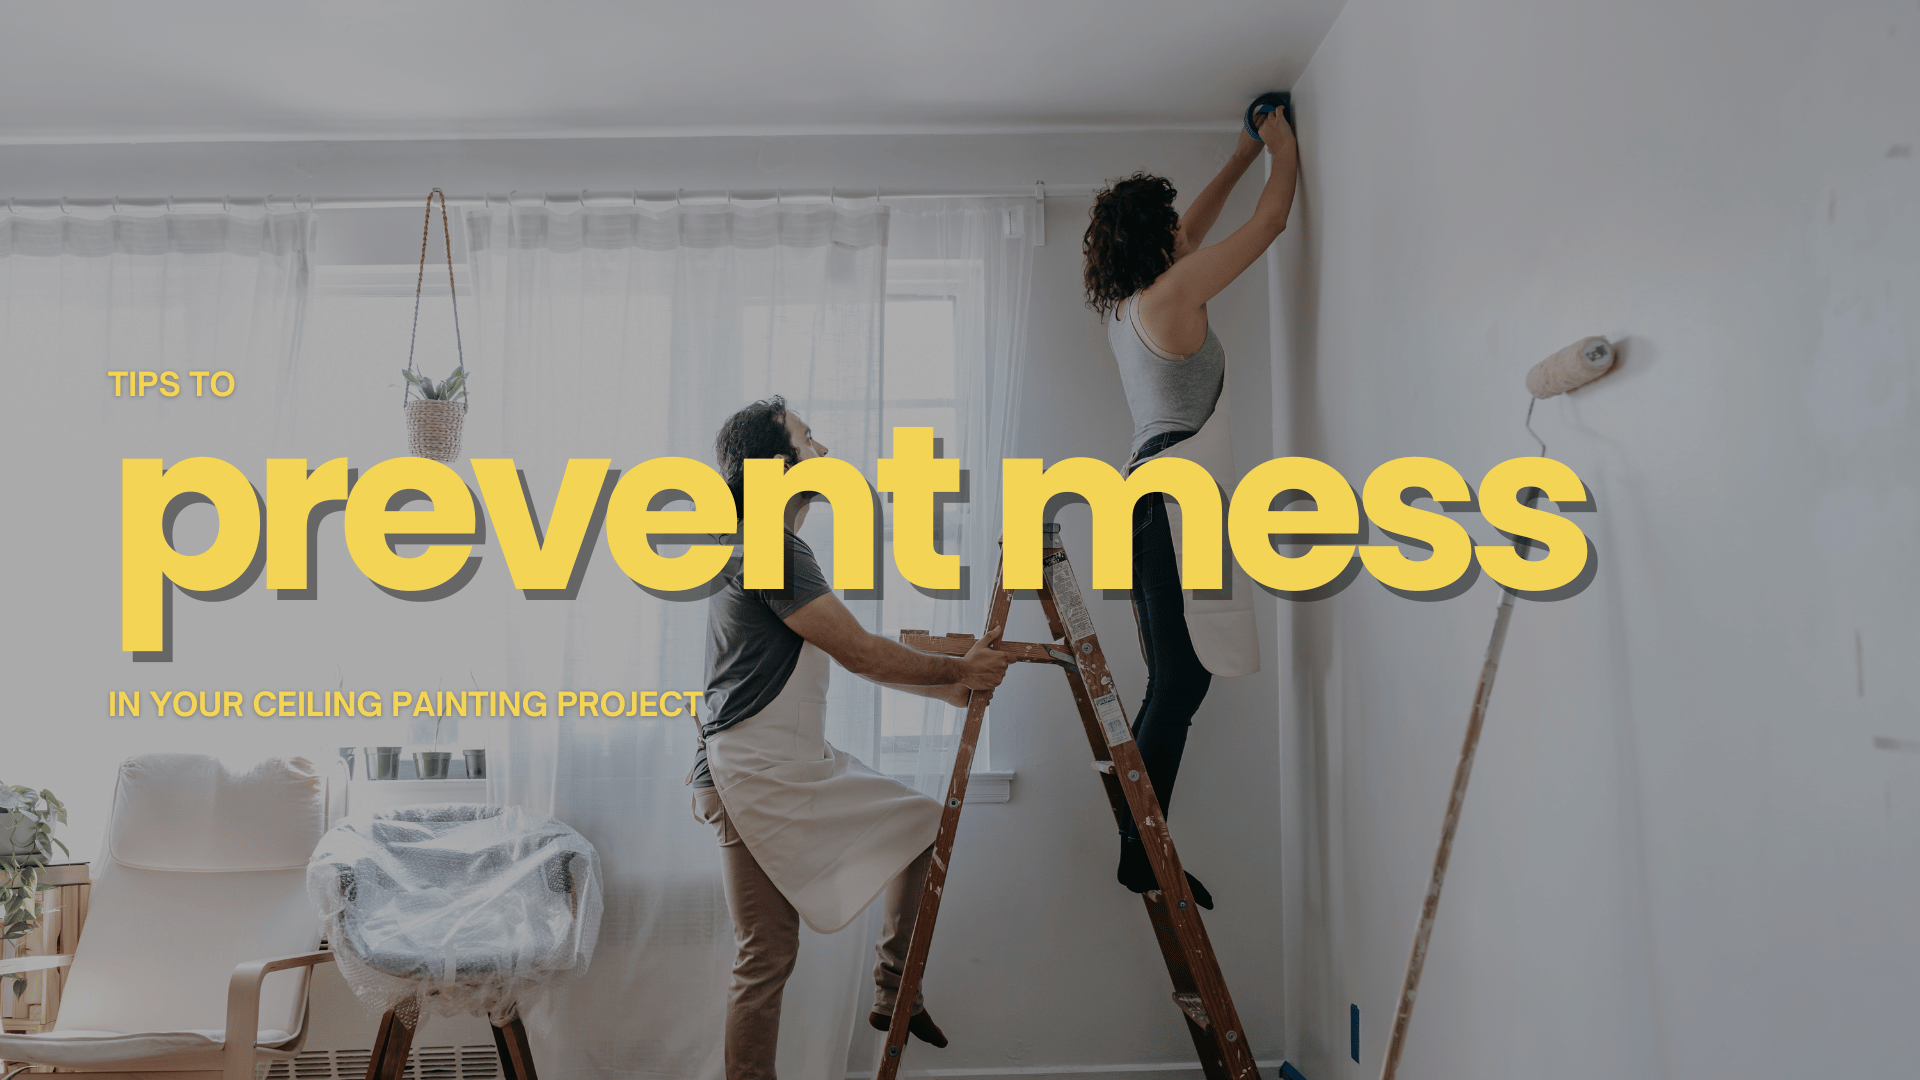
4. Use Proper Painting Techniques
Knowing the proper painting techniques will not only help you ensure a smooth paint finish, but also a clean painting project.
First, remember to apply paint in thin, even coats rather than thick layers.
This is because thick coats are more likely to drip and run, creating a mess and an uneven finish, but multiple thin coats will give you a smoother, more durable finish.
Then, when you’re using a brush, use long, even strokes and avoid overloading it with paint.
For rollers, use a light touch and roll slowly to prevent splattering.
Lastly, make sure to start painting at the top, to avoid having paint drips and spills flowing over your fresh coat of paint.
This way, any drips and spills that occur can be easily covered up as you work your way down!
5. Clean As You Go
Lastly, to maintain a clean project, you must remember to clean as you go.
Make sure to keep a damp rag nearby to immediately address any paint drips or spills that might happen in your project.
This way, you get to clean and wipe them off while they’re still wet, preventing them from drying and becoming more difficult to remove later.
Additionally, regularly check your brushes and rollers for excess paint buildup and clean them as needed to avoid unwanted drips.
By being meticulous with your project, you can ensure a tidier workspace for your project!
At New Haven Painters, we offer affordable, reliable, and durable painting services in New Haven, Branford, Milford, Orange, North Haven, West Haven, East Haven, and the surrounding areas for CT.
Book a FREE estimate below to get started or call us at (203) 606-2346 to talk about your project.
Related: Guide To Fixing The Faded Paint On Your Roof in Milford, CT
How To Prepare For Your Ceiling Painting Project in Branford, CT


CONTACT US
For more information, call or text us at (203) 606-2346 or fill out the form below.
Contact Us
Servicing All of Connecticut
NHP is an Affirmative Action/Equal Opportunity Employer.
Quick Links
Licensed • Bonded • Insured
#HIC.0645324