Is the once-vibrant paint on your living room walls starting to look dull and faded?
If so, it might be time to give your space a fresh new look by repainting.
Repainting your living room is the best fix to the faded coat of paint on your living room.
Not only are you fixing the paint issue in the space, but you're also breathing new life into your living room by adding a fresh coat of paint on it!
So, to help you with that, here's aGuide To Repainting The Faded Paint On Your Living Room.
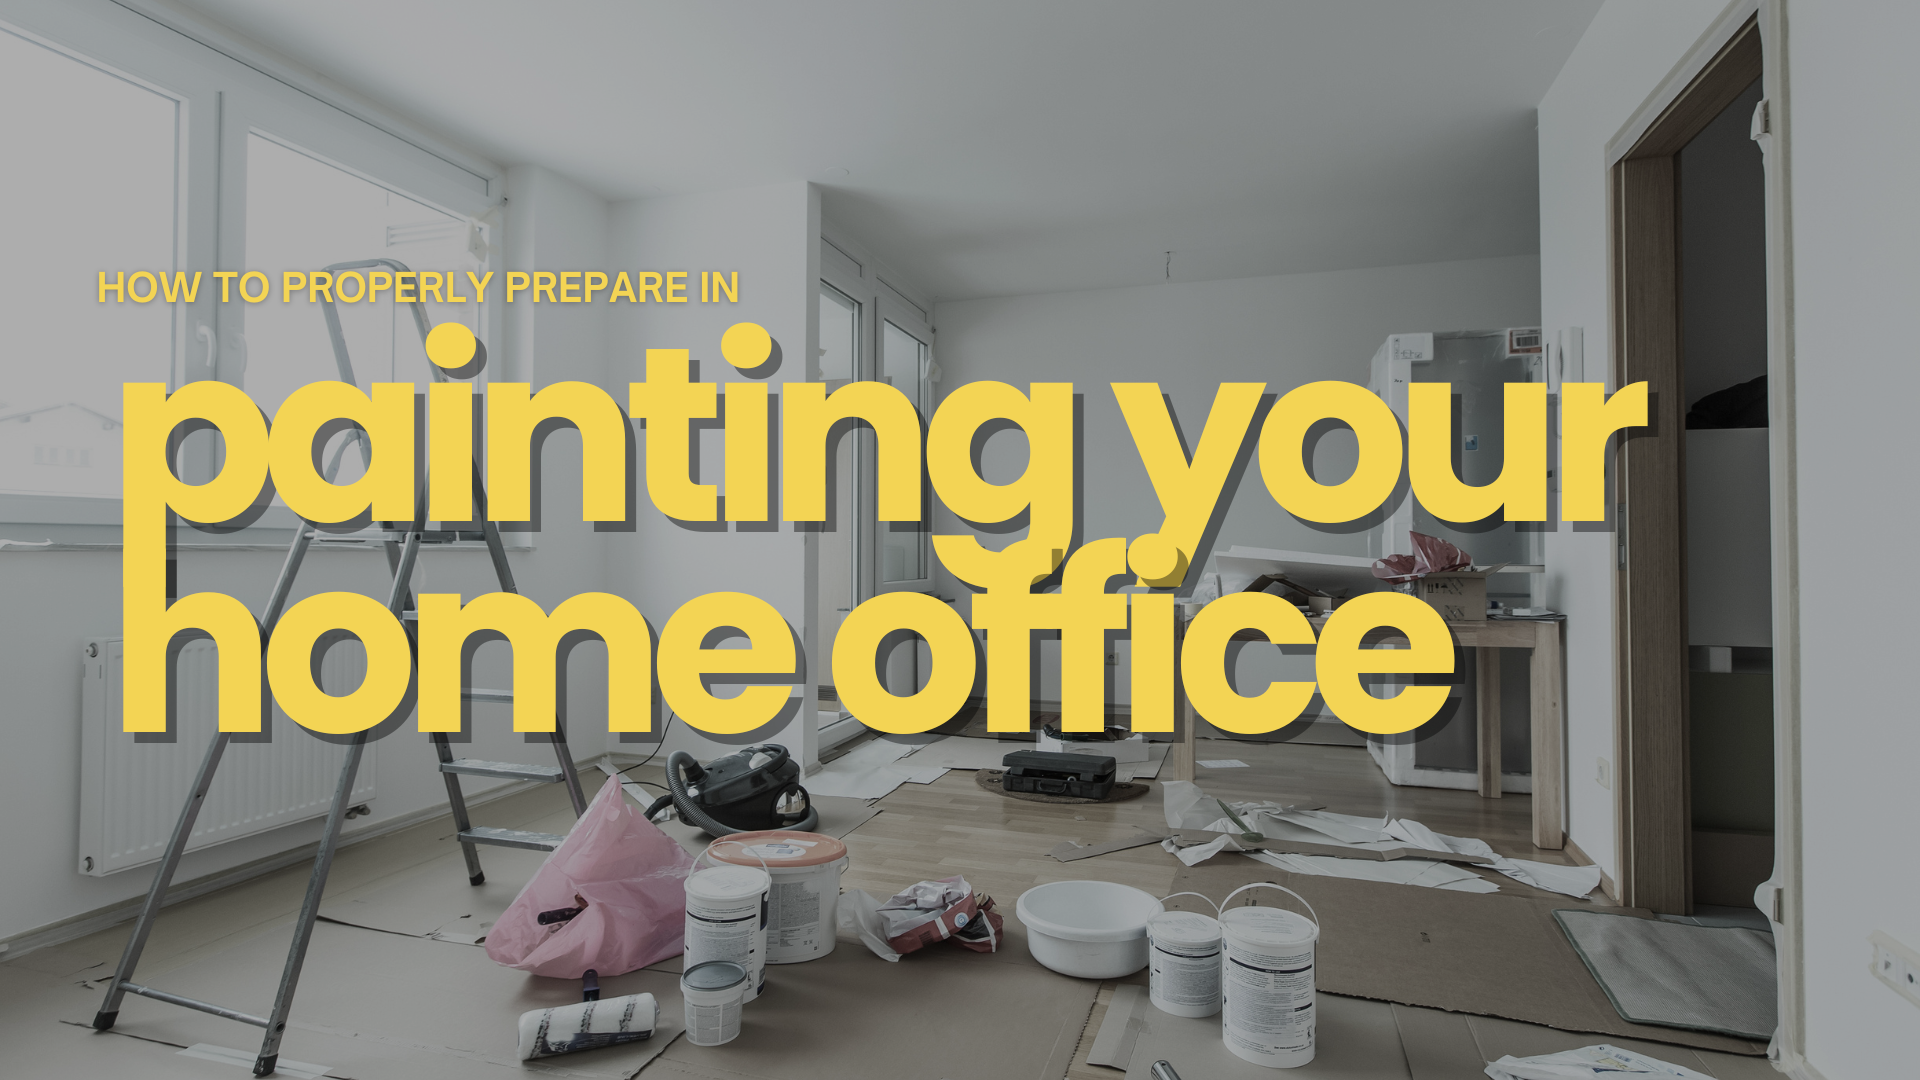
1. Preparing Your Living Room Space
The first step to repairing the faded coat of paint on your living room would be to prepare the space for a painting project.
Preparing your living room space for a painting project is an important step to take before anything else since you'll want to make sure that all possible obstructions that could cause delays in your project are taken care of, ensuring a more streamlined process for your project.
So, to start, you'll want to clear your living room of all furniture, appliance, or any other decor you might have present in the space.
For your living room fixtures, you'll want to make sure they are covered with drop cloths or plastic sheeting accordingly.
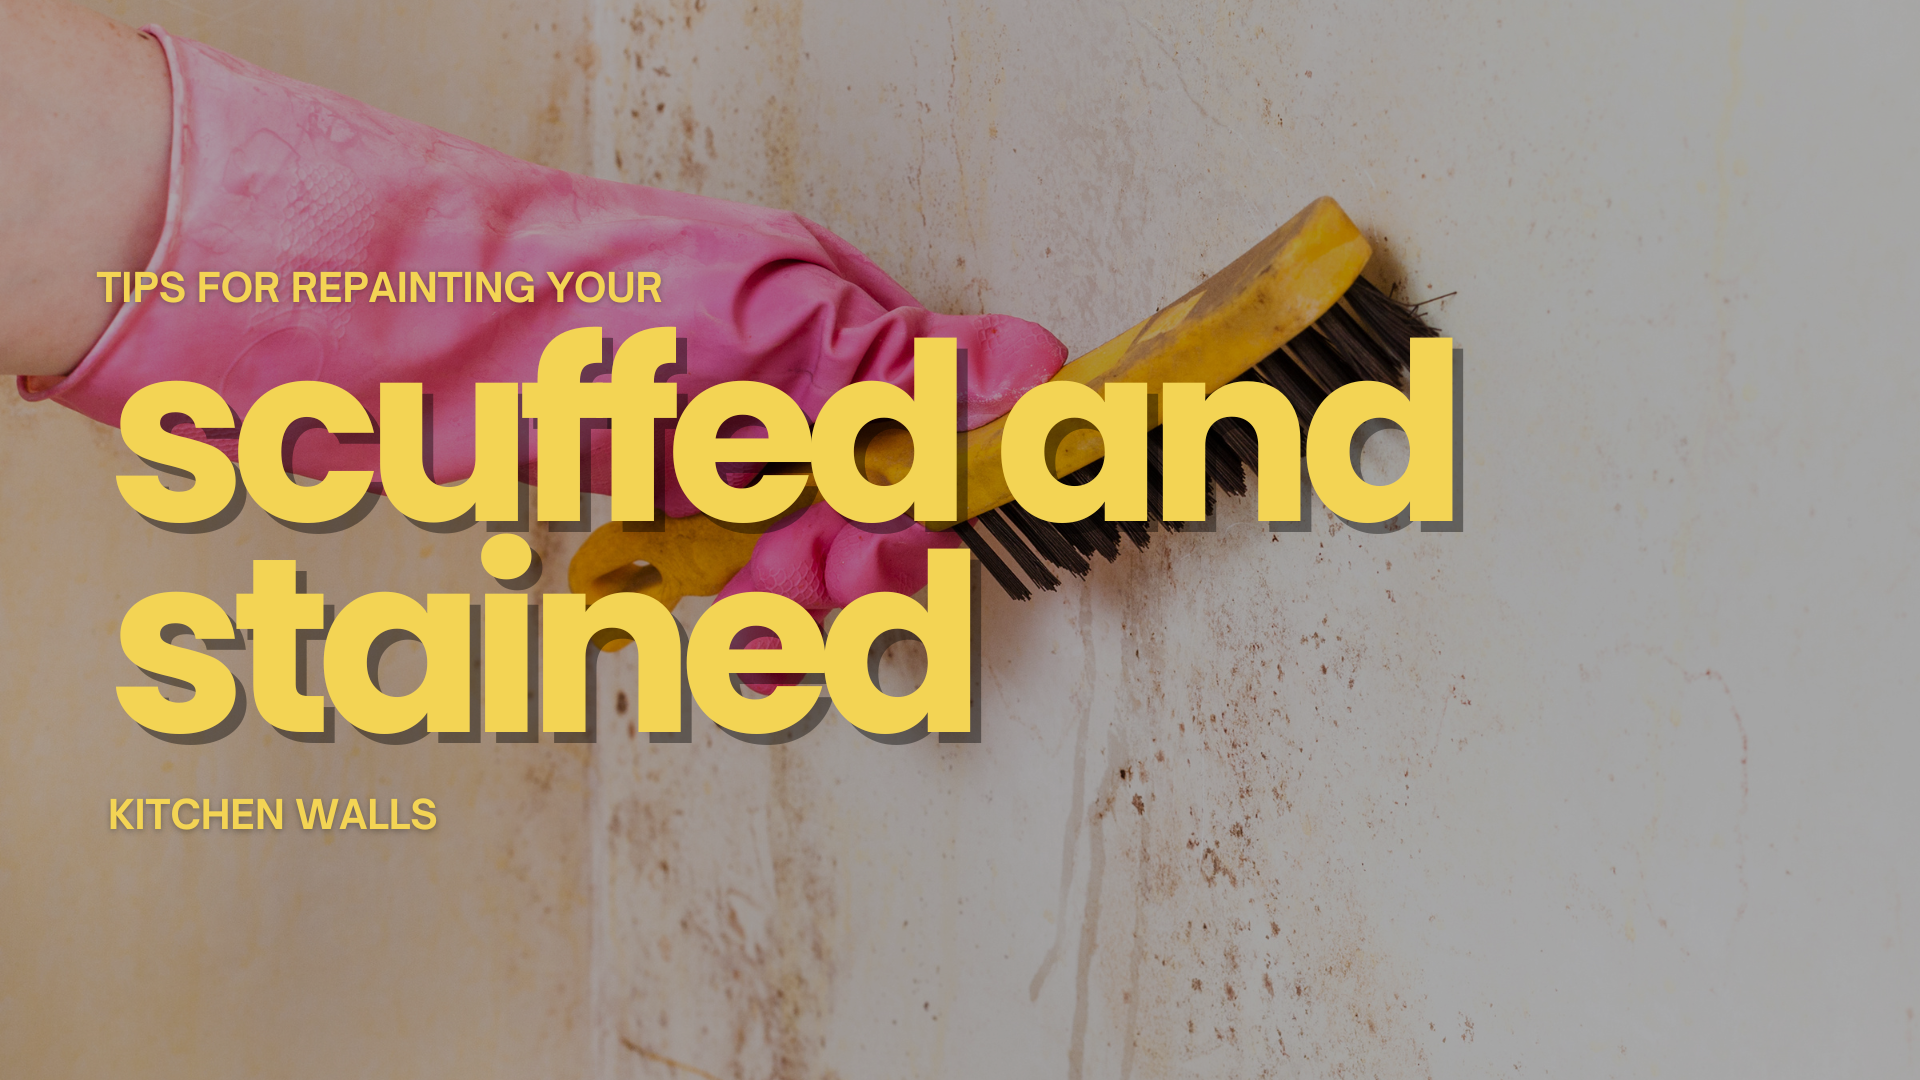
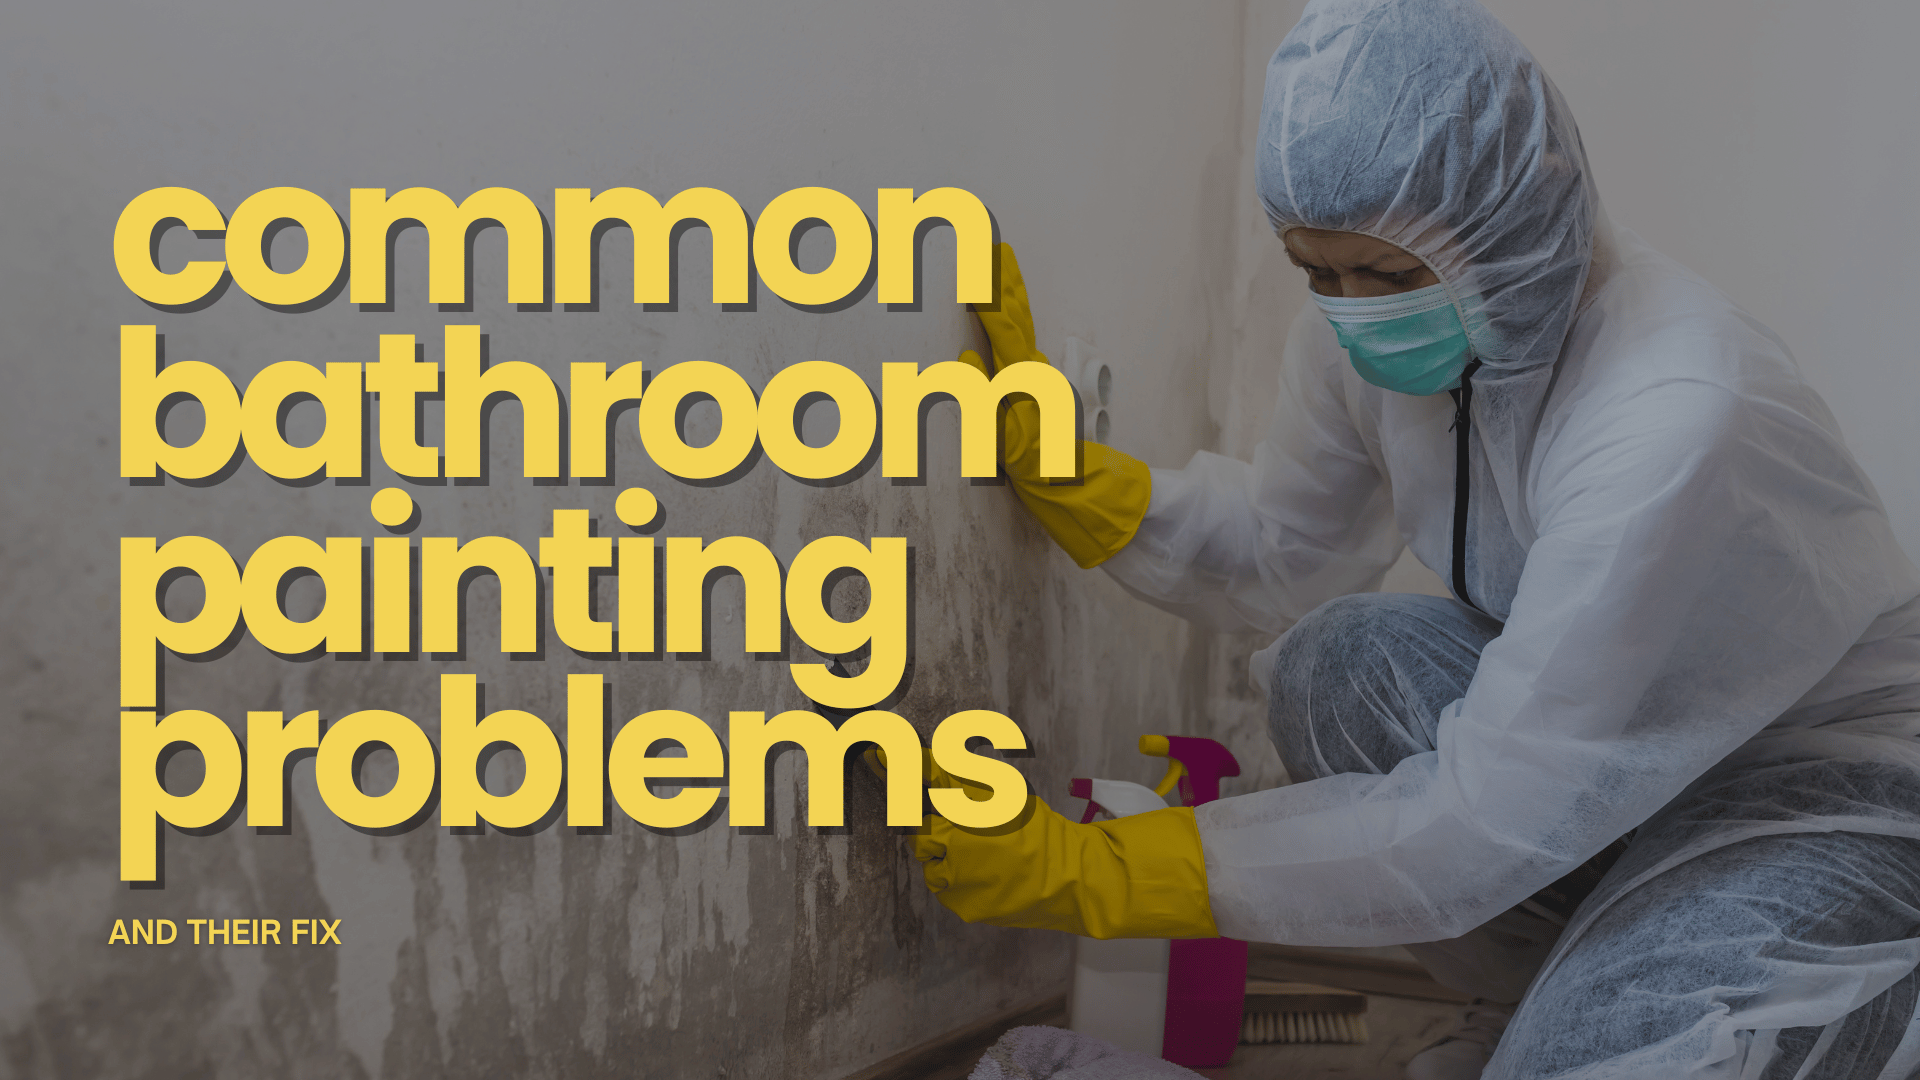
Then, you'll want to inspect your walls and see why your coat of paint might have faded - may it be due to too much sun exposure? Weather-related factors? Using low quality paint or a lack of primer usage?
This is important so you can make the necessary adjustments to your project, and make sure you won't be repeating the same mistakes again.
2. Choosing the Right Paint
Choosing the right kind of paint is important in repainting the faded coat of paint on your living room.
Here are things you should consider when shopping for paint:
- Finish: Living rooms typically benefit from paint finishes that are easy to clean and durable. Satin or eggshell finishes strike a good balance between washability and a subtle sheen that adds depth to the room.
- Color:When selecting a new paint color, think about the mood you want to create in your living room. Lighter colors can make the space feel larger and more open, while darker colors can create a cozy and intimate atmosphere. Test paint samples on a small section of the wall to see how they look in your specific lighting conditions.
- Quality:High-quality paints tend to provide better coverage and durability. Investing a bit more in quality paint can save you money in the long run as it often requires fewer coats and lasts longer.
3. Prep The Surface
To achieve a smooth and even paint finish, you'll also want to prepare the surface you're going to be painting.
You can start by washing the walls with a mild detergent and water solution to remove dust, dirt, and grease, then rinse thoroughly and allow the walls to dry completely before moving on.
As an added step and refinement to your process, you may also want to lightly sand your walls to create a slightly rough surface that helps the paint adhere better.
After sanding, wipe down the walls again to remove any dust.
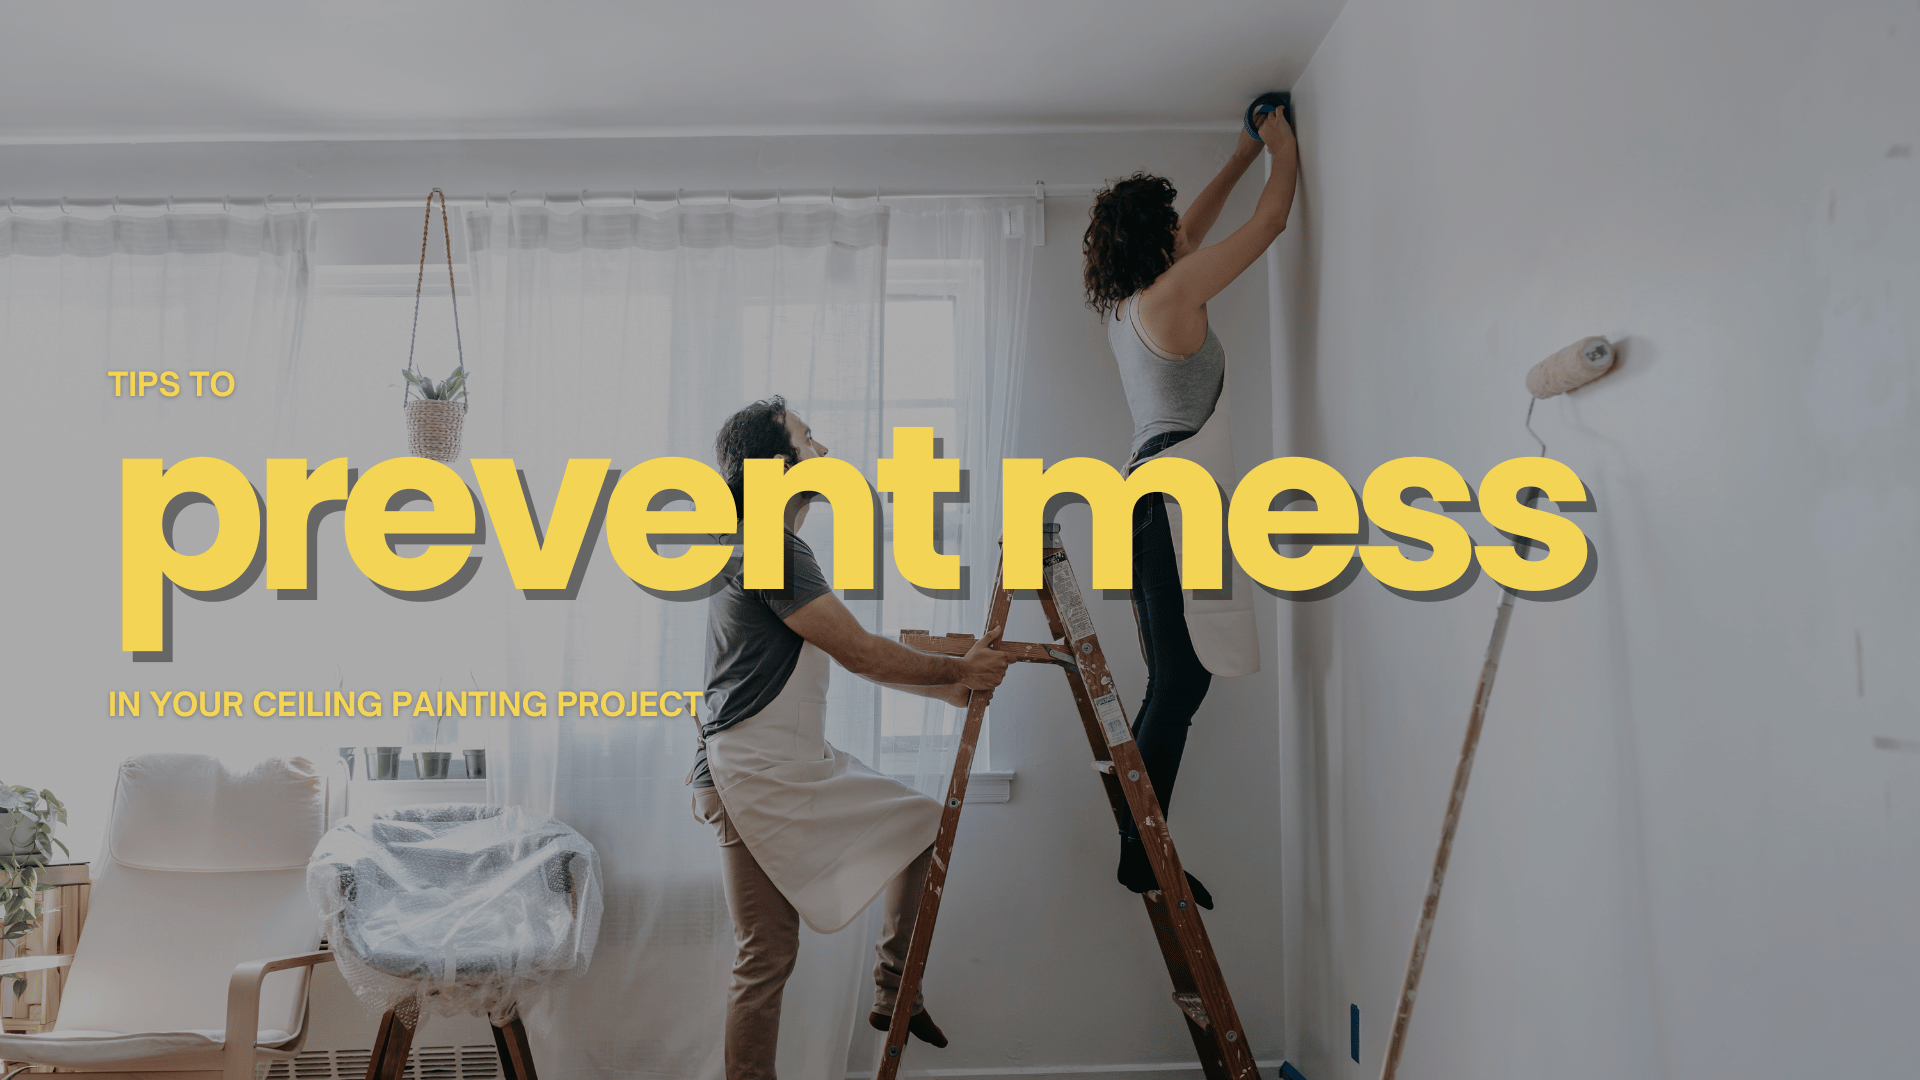
4. Applying Primer and Paint
In repainting the faded coat of paint on your living room, proper primer and paint application is crucial.
Primer will give your coat of paint better coverage, which in turn, allows for a brighter and more vivid paint finish.
It is also important to remember that a lack of primer application is one of the culprits to paint fading - which is something you're trying to fix in the first place.
So, to start, apply a coat of primer evenly over the walls, using a roller or a paintbrush for corners and edges.
Make sure to let the primer dry completely, before proceeding to apply your fresh coat of paint.
To do this, use a roller for most of the wall surface and a brush for cutting in along the edges, corners, and trim.
Then, start with a "W" or "M" pattern to evenly distribute the paint, then fill in the remaining space.
Lastly, remember to work in small sections and maintain a wet edge to avoid visible paint lines.
5. Finishing Touches and Cleanup
After applying the final coat of paint and ensuring it's completely dry, it's time for the finishing touches.
Reattach any hardware or fixtures you removed earlier, like light switch covers and outlet plates.
Inspect the room for any touch-ups that may be needed and address them as necessary.
Once you're satisfied with the results, it's time to clean up.
Dispose of paint cans and brushes properly and clean your tools thoroughly so they can be reused or stored for any future projects!
AtNew Haven Painters, we offer affordable, reliable, and durable painting services in New Haven, Branford, Milford, Orange, North Haven, West Haven, East Haven, and the surrounding areas for CT.
Book a FREE estimate below to get started or call us at (203) 606-2346 to talk about your project.
Related:Paint Colors To Avoid In Painting Your Bedroom in Branford, CT
Painting Essentials For A Roof Painting Project in Milford, CT


CONTACT US
For more information, call or text us at (203) 606-2346 or fill out the form below.
Contact Us
Servicing All of Connecticut
NHP is an Affirmative Action/Equal Opportunity Employer.
Quick Links
Licensed • Bonded • Insured
#HIC.0645324