If you're looking for a way to elevate your living room's overall appeal, doing a painting project might be one of the most transformative -if not the most transformative -ways to spruce up the space.
However, it is no secret that a painting project can be especially expensive, which is also why most people would rather choose to do it all on their own - DIY style!
While this is not the best way to do a painting project, getting acquainted with some tips and tricks to DIY painting could lead you to a successful project!
So, without further ado, here areHandy DIY Painting Tips For Your Living Room.
1. Prepare Properly
In painting your living room by yourself, it is important to stress the importance of proper preparation prior to your painting project.
Going through proper preparation is important since this sets the foundation for your project, smoothening out all potential problems and ensuring a seamless experience for your project.
Start by thinking about what it is exactly you want for your project, since this will determine what kind of materials you'll need to get for your project.
You'll also need to prepare your living room space for a painting project - start by removing any furniture, wall décor, and fixtures from the room or covering them with drop cloths to prevent paint splatters and drips.
Then, you'll want to undergo the proper surface preparation process - there are a lot of blogs online tackling this if you do not know how to do it!
While doing all of this may sound tiring to you, remember that this level of preparation tends to be the difference between a successful DIY painting project and a failed one.
2. Measure Your Living Room
Measuring your living room space prior to your painting project may seem to be a useless chore, but this is actually a tip that could render a lot of benefits for your project, especially if you're doing it DIY!
Why?
Measuring your living room gives you an idea of how much space you're going to be working with, thus, giving you the opportunity to assess whether this is something you can do all on your own, or something you'd need additional help with.
This then ensures that your project goes as scheduled and will not be rushed nor overwhelming.
On top of that, this also helps you get an idea of how much paint you'll need to completely cover the space, making sure that you get a close paint estimate instead of blindly guessing, ending up with either too much or less paint than you needed.
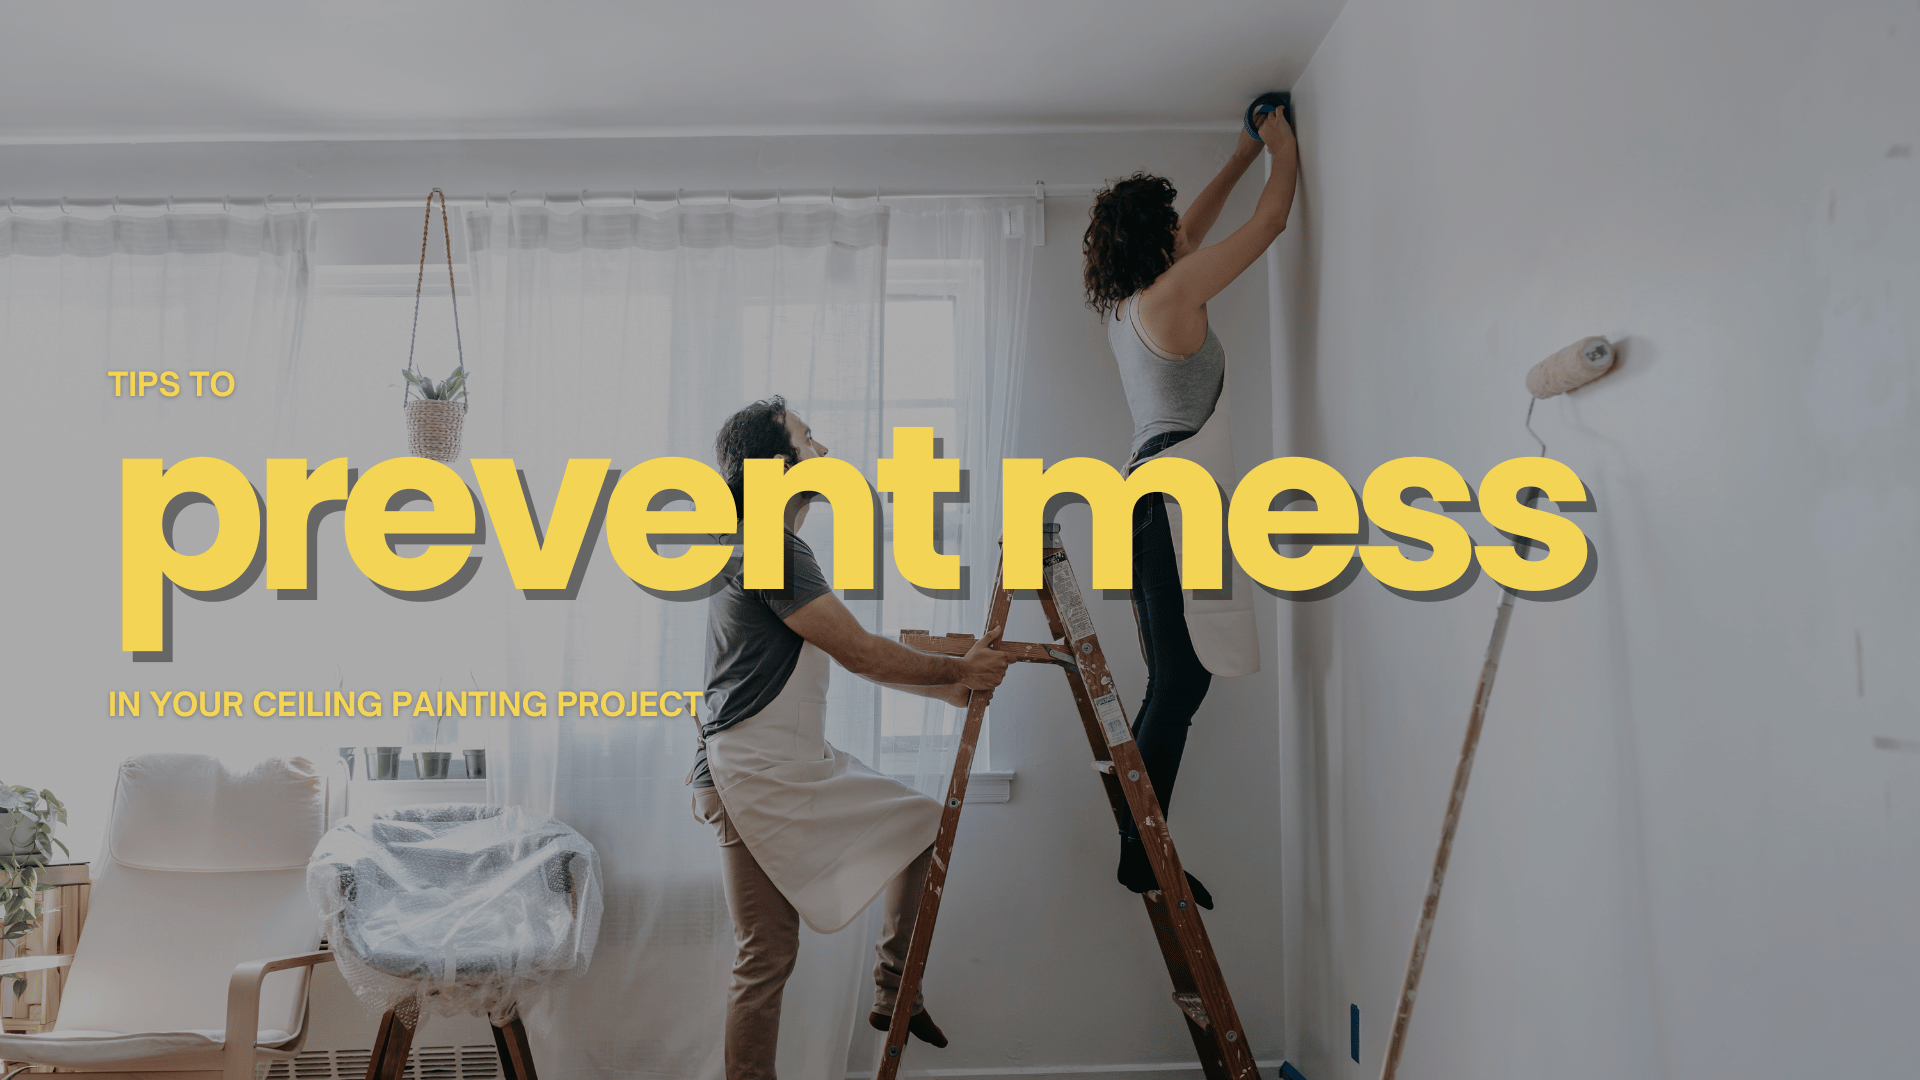
3. Practice Proper Painting Techniques
When you're doing a painting project all on your own, you'll fare better by getting acquainted and practicing proper painting techniques.
Start by cutting in around the edges of the walls, trim, and corners with a high-quality angled brush, ensuring clean lines and crisp edges.
Once the edges are cut in, use a roller to apply paint to the larger wall surfaces, working in overlapping vertical sections to ensure even coverage.
Remember to employ a smooth, even motion and apply the paint in thin, uniform coats to avoid drips, streaks, and roller marks.
If necessary, use a paint extender or pole to reach high ceilings or walls, maintaining a consistent pressure and pace throughout the painting process.
4. Practice Proper Drying and Curing
Practicing proper paint drying and curing is just as important as practicing painting techniques - and another thing you should be mindful of in your DIY painting project.
After applying each coat of paint, allow it to dry completely (or base it on the manufacturer's instructions) before applying additional coats or removing painter's tape.
You should avoid rushing the drying process by using fans or heaters, as this can lead to uneven drying and potential paint damage.
Once the final coat is applied, allow the paint to cure fully before moving furniture back into the room or hanging wall décor.
This typically takes anywhere from a few days to a week, depending on the type of paint and environmental conditions, so make sure to schedule your painting project accordingly!
5. Start Painting At The Top
Lastly, in painting your living room, a useful tip would be to start painting at the top.
This is because painting at the top helps you avoid the inevitable paint drips and spills from ruining your fresh coat of paint, as you can just paint over them as you make your way down!
This way, you also get to have gravity in your favor - talk about a useful ally!
At New Haven Painters, we offer affordable, reliable, and durable painting services in New Haven, Branford, Milford, Orange, North Haven, West Haven, East Haven, and the surrounding areas for CT.
Book a FREE estimate below to get started or call us at (203) 606-2346 to talk about your project.
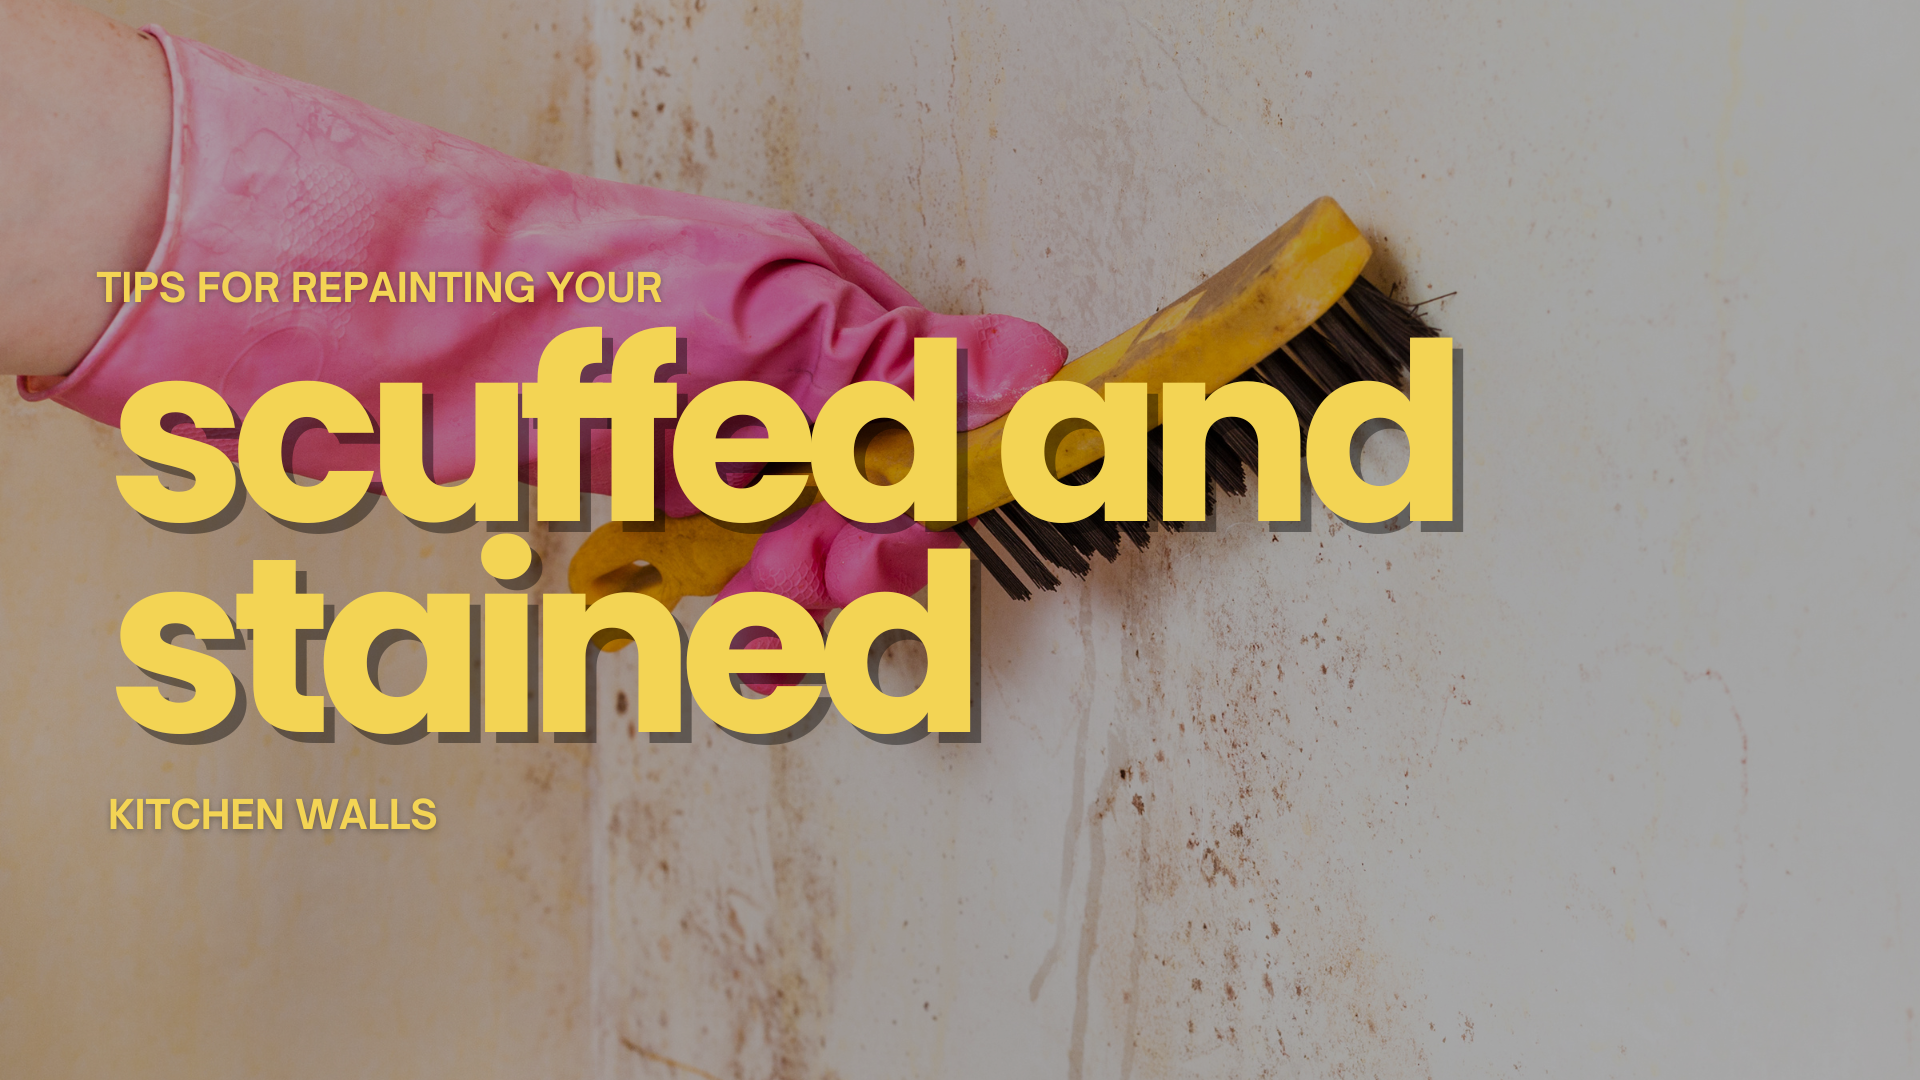
Related: How To Prepare For A Kitchen Painting Project in Milford, CT
Signs That You Should Be Repainting Your Bathroom in Branford, CT


CONTACT US
For more information, call or text us at (203) 606-2346 or fill out the form below.
Contact Us
Servicing All of Connecticut
NHP is an Affirmative Action/Equal Opportunity Employer.
Quick Links
Licensed • Bonded • Insured
#HIC.0645324