Doing a kitchen painting project is one of the best ways to transform the space, elevate its overall appeal, and breathe new life into your kitchen space.
After all, your kitchen is a crucial part of your home, a space that you use daily, and it only makes sense to want to prepare your food in a place that feels fresh, invigorating, clean, and aesthetically pleasing.
So, if you are currently on the early stages of your upcoming painting project and still confused if you're on the right track, fret not - here's something to guide you!
Here'sHow To Prepare For A Kitchen Painting Project.
1. Plan Your Project Ahead
Starting a kitchen painting should always begin with a well-thought plan.
Planning your upcoming project should be done ahead of time to ensure that you have enough time to think about all the aspects involved in your painting project - which include your creative direction for the project, the materials you need for it, your project's schedule, and many other things.
You'll want to be certain first of what you want to do for your project, since this will essentially determine what you'll need to get for your project.
Then, you'll also want to think of the best time to set your painting project - which is very crucial especially that you're painting your kitchen, a space in your home that receives the most traffic daily.
All in all, planning ahead will save you time and prevent unnecessary trips to the hardware store once you've started the project.
After all, failing to plan is planning to fail!
2. Prepare the Surface
To ensure an even and smooth paint finish, doing proper surface preparation is an essential aspect of your project's preparation stage.
Over time, your kitchen walls will have acquired all sorts of muck on its surface, due to exposure to grease, dirt, and other contaminants - and having these on the surface you're going to be painting will ruin the overall quality of the coat.
To start this, you'll want to thoroughly clean your kitchen interior to remove all the muck that has built up on its surface over time of usage - you can do so by using a mild detergent solution and a sponge or cloth to wipe down surfaces, followed by rinsing with clean water.
For stubborn stains or grease buildup, you may need to use a degreaser or trisodium phosphate (TSP) cleaner.
Once the surfaces are clean and dry, you'll want to inspect them next for any imperfections such as cracks, holes, or uneven areas.
If there are any, make sure to fill in holes and cracks with spackling compound or wood filler, then sand the surfaces smooth once the filler has dried, to help the paint adhere better to the surface.
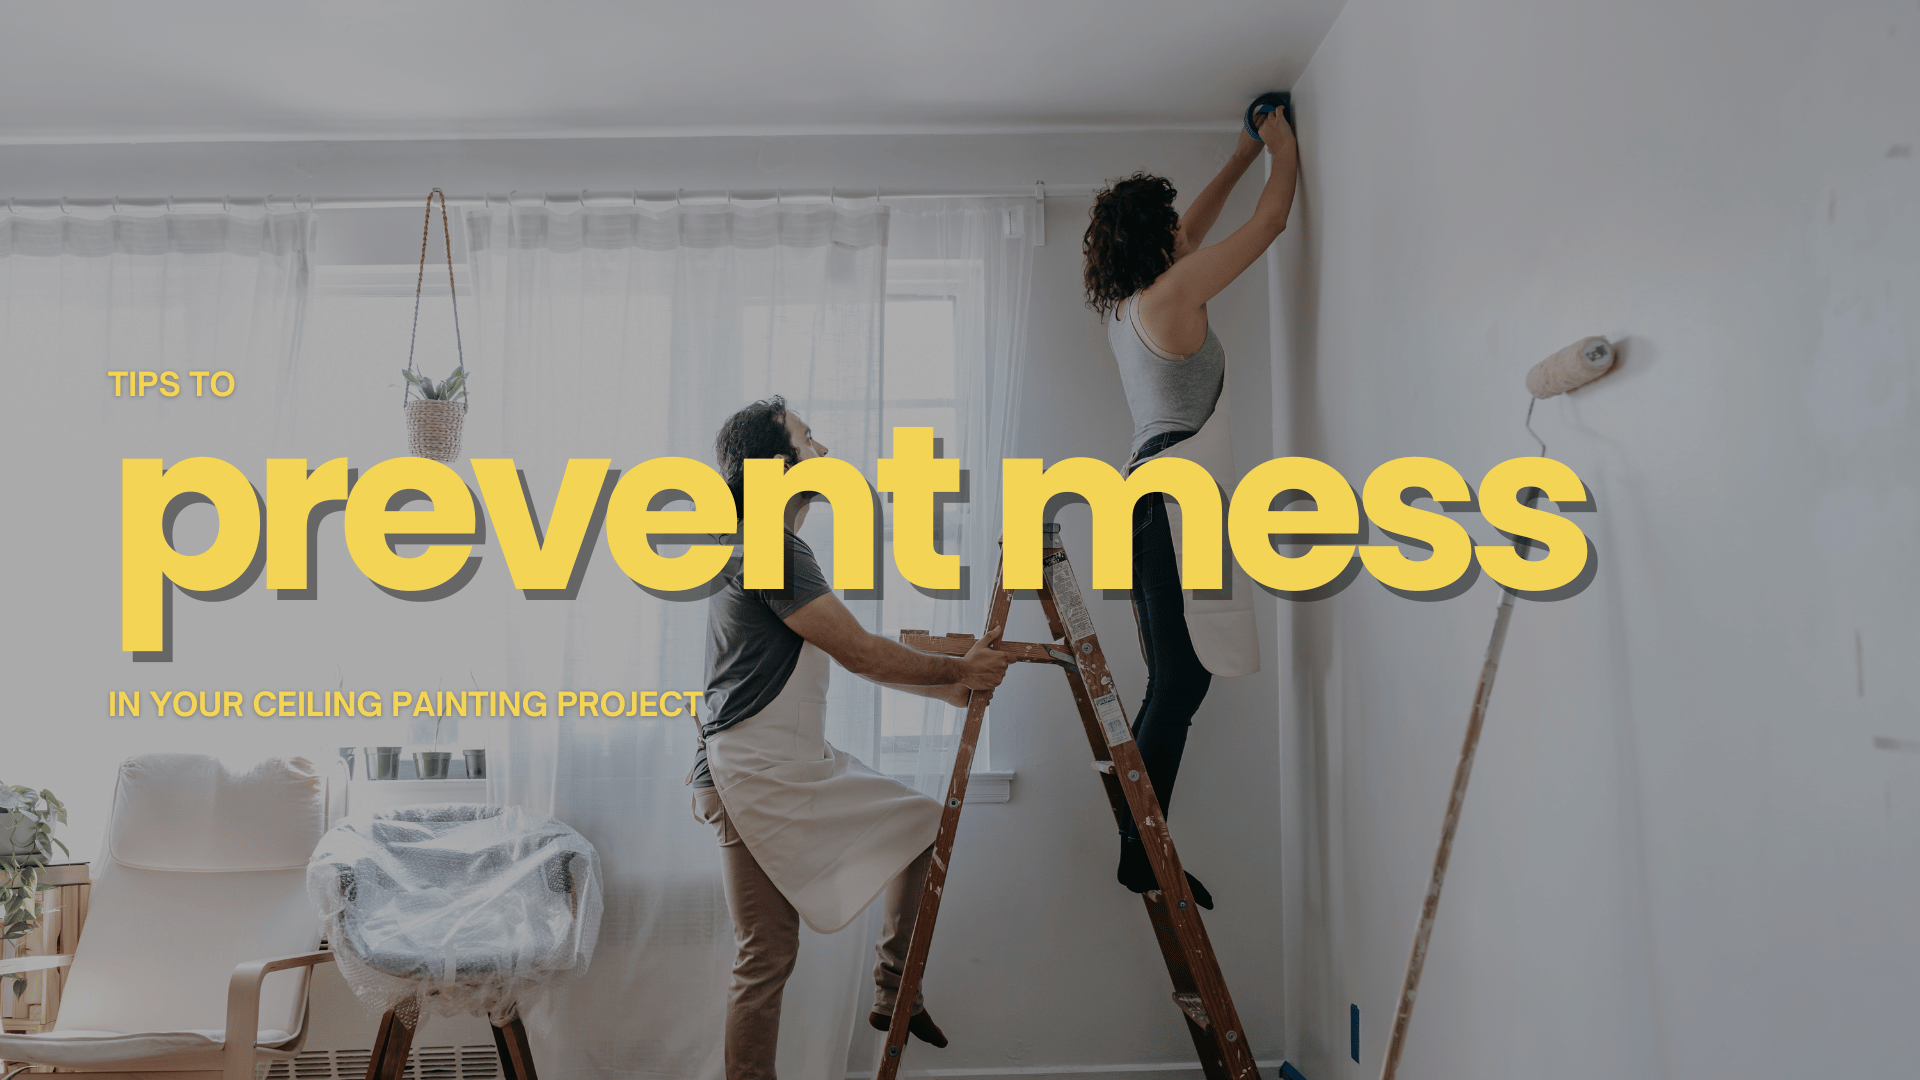
3. Protect Surrounding Areas
Painting can be a messy job, so it's important to protect surrounding areas from drips, spills, and splatters.
Cover countertops, appliances, floors, and any furniture with drop cloths or plastic sheeting to prevent paint from getting onto surfaces where it shouldn't be.
Then, you'll also want to use painter's tape to mask off edges and trim, creating clean lines and preventing paint from bleeding onto adjacent surfaces.
Take the time to properly secure drop cloths and tape to ensure they stay in place throughout the painting process.
4. Choose the Right Paint
An extremely important aspect of your project's preparation process is getting the right kind of paint - and in doing so, there are several factors to consider.
When you're getting paint for your kitchen painting project, consider factors such as durability, washability, and sheen.
For kitchen walls and cabinets, a semi-gloss or satin finish is ideal as it is easy to clean and offers a subtle sheen that reflects light, brightening up the space.
Lastly, choose a high-quality paint that is specifically formulated for kitchens and bathrooms, as these areas are prone to moisture and grease buildup.
At New Haven Painters, we offer affordable, reliable, and durable painting services in New Haven, Branford, Milford, Orange, North Haven, West Haven, East Haven, and the surrounding areas for CT.
Book a FREE estimate below to get started or call us at (203) 606-2346 to talk about your project.
Related: Signs That You Should Be Repainting Your Bathroom in Branford, CT
Pro Tips To Try For Your Upcoming Painting Project in Milford, CT


CONTACT US
For more information, call or text us at (203) 606-2346 or fill out the form below.
Contact Us
Servicing All of Connecticut
NHP is an Affirmative Action/Equal Opportunity Employer.
Quick Links
Licensed • Bonded • Insured
#HIC.0645324