Painting a ceiling can dramatically change the look and feel of a room.
However, unlike painting walls, a ceiling painting project presents unique challenges such as working overhead and choosing the right products to ensure a smooth finish.
So, if you're currently planning on painting your ceiling but don't know where to start, worry no more - here's a guide we've crafted for you!
Here'sHow To Prepare For Your Ceiling Painting Project.
1. Gather Your Painting Tools
To kick off your ceiling painting project, you’ll want to take a run down your local paint store and gather all necessary painting tools for your project.
First, you’ll want to ensure that you have the right kind of paint for your ceiling project – it’s crucial to choose paint that is specifically formulated for this purpose.
Ceiling paint is typically flatter than wall paint to minimize light reflection and hide imperfections.
It's also thicker, which reduces drips and splatters when painting overhead.
But your task doesn’t end there; to help you apply a fresh coat of paint on your ceiling, you’ll also need the following tools:
- Rollers and Brushes: A roller with an extension pole is essential for reaching the ceiling without a ladder. Use a smaller brush or a trim roller for the edges and corners.
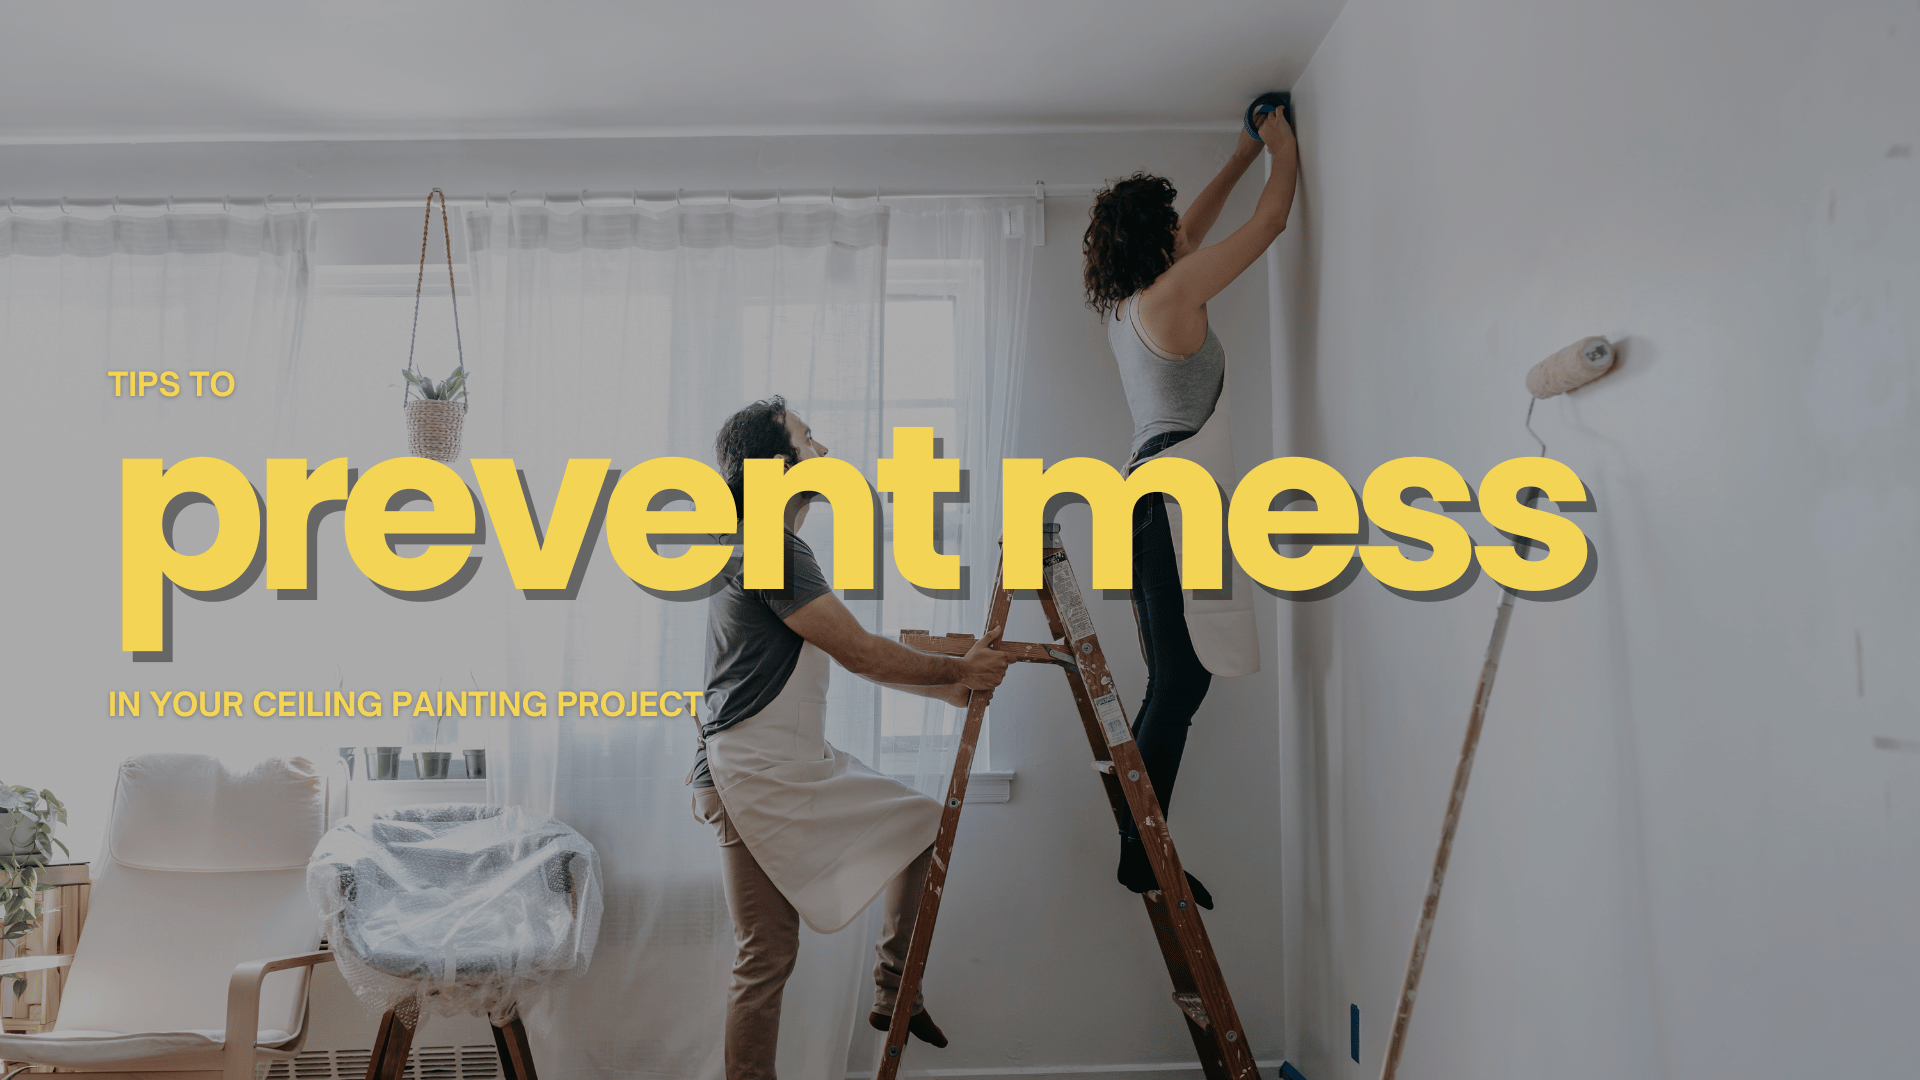
- Drop Cloths: Protect your furniture and floors from paint splatters with plastic or canvas drop cloths.
- Painter’s Tape: This will be crucial for protecting wall edges and fixtures like light fixtures and ceiling fans.
- Ladder: For higher ceilings or detailed work around fixtures, a stable ladder is necessary.
If you find yourself getting confused in the middle of shopping, don’t be shy to approach a local paint professional at your local store – they’ll be happy to help!
2. Do The Necessary Prep Work
After ensuring that you have all the necessary painting tools for your project, you’ll now want to proceed with your preparation process by preparing the room you’re going to be painting.
To do this, you’ll want to:
- Remove Furniture: Clear the room as much as possible, or move furniture to the center and cover it with drop cloths.
- Dust and Clean: Ceilings often accumulate dust and cobwebs. Use a broom or a vacuum with a brush attachment to clean the surface thoroughly.
- Remove or Cover Fixtures: If possible, remove light fixtures, or cover them carefully with painter’s tape and plastic bags.
- Protect Walls and Trim: Use painter’s tape along the edges where the ceiling meets the walls. This will ensure a crisp, clean line and protect your wall colors.
3. Patch and Sand
You need to remember that a smooth and even ceiling is key to a successful ceiling painting project.
First, you’ll want to inspect your ceiling and address any damages on it.
For any damages, you can use spackle or joint compound to fill in any nail holes, dents, or cracks, and allow them to dry properly.
You’ll also want to sand your ceiling properly, for an even surface to paint on.
If you’re sanding your ceiling after addressing damages with putty filler, you’ll want to make sure that they’ve dried and hardened properly before sanding the affected areas.
Lastly, after sanding, it’s important to remove all the dust, as paint will not adhere well to a dusty surface - a damp cloth can be effective in wiping down the ceiling!
4. Apply a Primer
Now that you have your painting materials and ceiling surface done, you’ll now want to proceed with primer application.
Priming is an often-skipped but crucial step in painting a ceiling, especially if you’re making a significant color change, covering stains, or painting over a darker color.
To start, you’ll want to use a paint roller to apply the primer across your ceiling surface.
Start from one corner and move systematically to the opposite side, ensuring even coverage.
After application, make sure to allow the primer to dry completely, following the manufacturer’s drying time recommendations.
Additional tip: Use a stain-blocking primer if you’re concerned about water stains or if the old paint color is very bold or dark!
Now, off you go to the fun part:painting your ceiling!
At New Haven Painters, we offer affordable, reliable, and durable painting services in New Haven, Branford, Milford, Orange, North Haven, West Haven, East Haven, and the surrounding areas for CT.
Book a FREE estimate below to get started or call us at (203) 606-2346 to talk about your project.
Related: Guide To Preparing For Your Bedroom Painting Project in Milford, CT
Tips For Doing A Roof Painting Project On Your Own in Branford, CT


CONTACT US
For more information, call or text us at (203) 606-2346 or fill out the form below.
Contact Us
Servicing All of Connecticut
NHP is an Affirmative Action/Equal Opportunity Employer.
Quick Links
Licensed • Bonded • Insured
#HIC.0645324