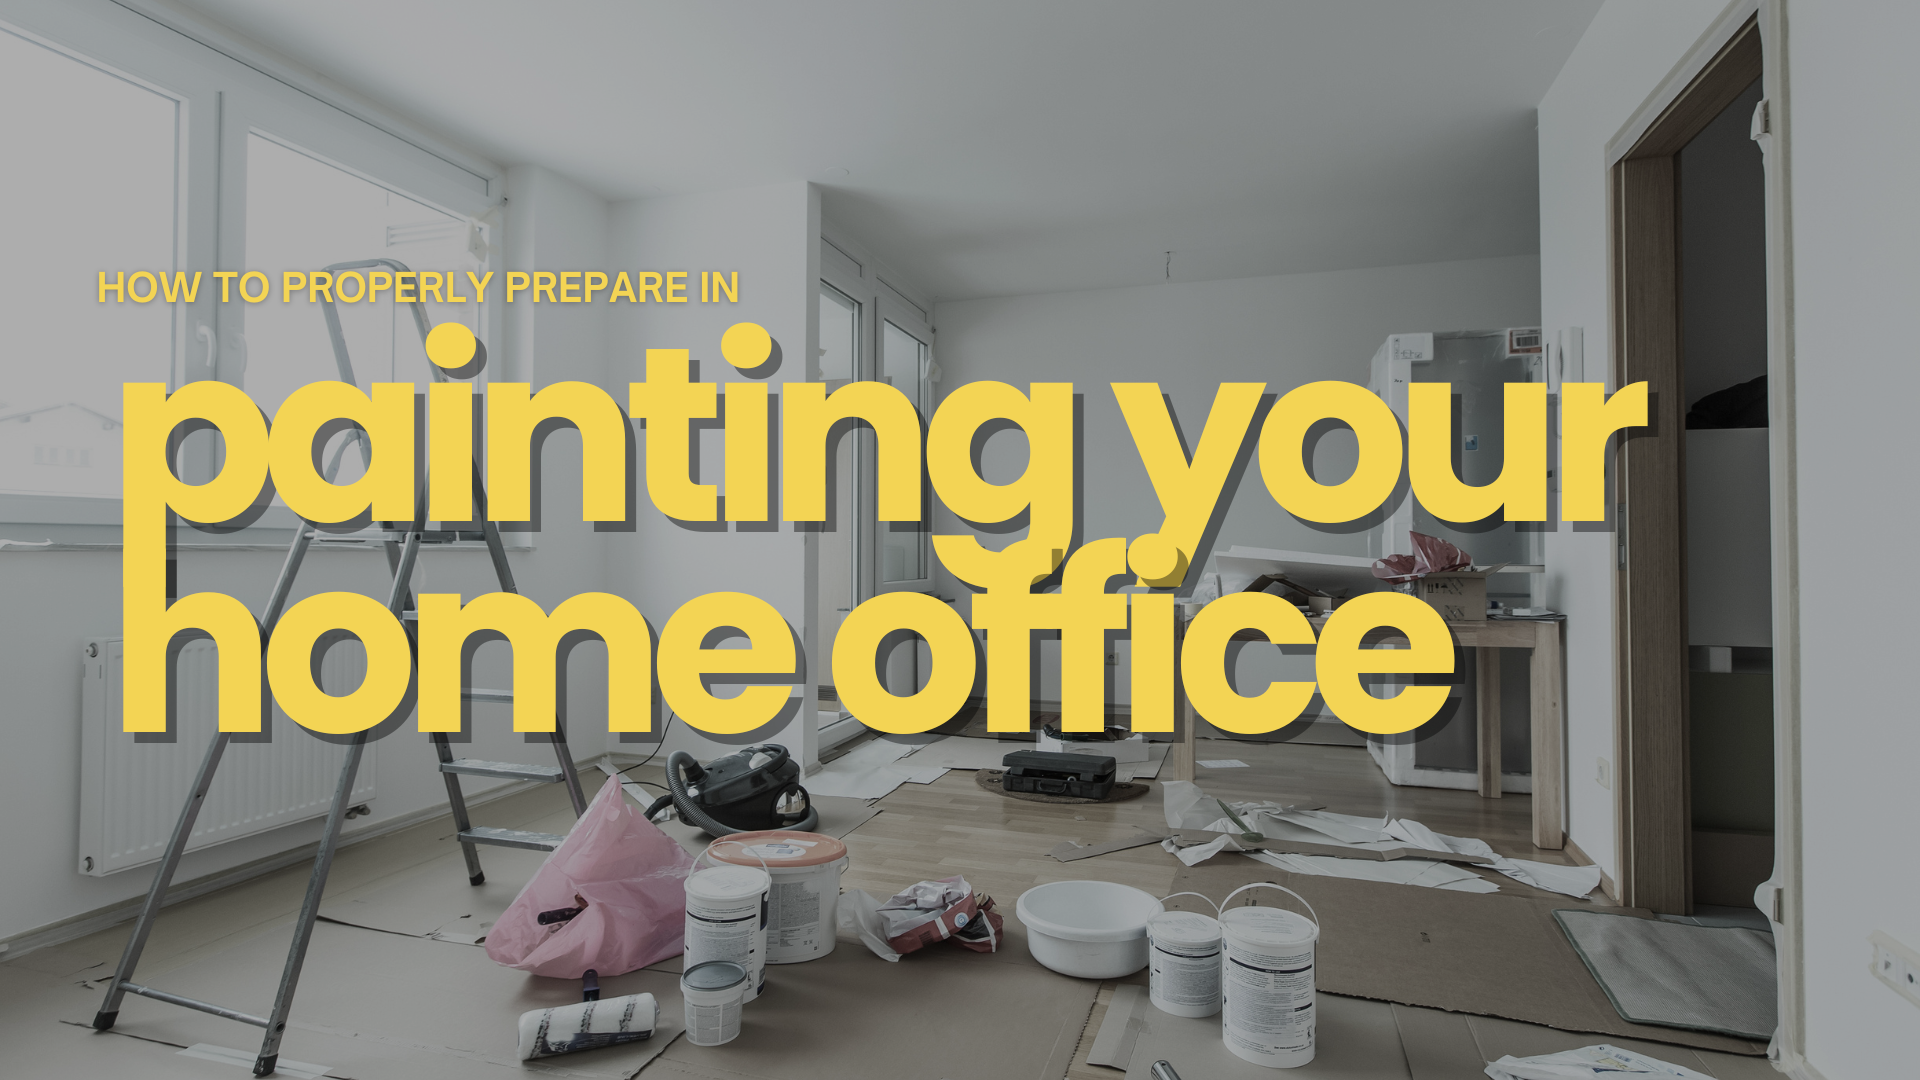
When it comes to ensuring the success of your painting project, there is no step more important than preparing the walls, which includes cleaning, sanding, and applying primer before applying the paint. Ready to learn how to paint walls? With the right tools and the right paint, you will quickly and proudly show off your new skills. The best interior wall paints will cover properly prepared surfaces in fewer coats, but beware of inexpensive paints that claim good spreading at prices too low to be realistic. In this article, you will learn what techniques to use, what types of rollers to use, how to soak your paint roller, and everything you need to know to paint a room properly. When it comes to painting interior walls, it is impossible to take shortcuts. If you need to try out DIY painting, here are a few steps and tips to keep in mind.
Choosing the Tools
It is essential to use the right tools. Here’s what you’ll need:
• high-quality roller
• use a 10 mm (3/8 in) roller for most finishes
• use a 6 mm (1/4 in) roller for glossy finishes
• use a 13mm (1/2 ”) or 19mm (3/4 ”) roller for textured or rough walls
• clean and dry the rollers before using them to remove any loose fibers
You will also need a paint tray, an extendable handle and a stepladder, and of course, quality paint.
Preparing Walls
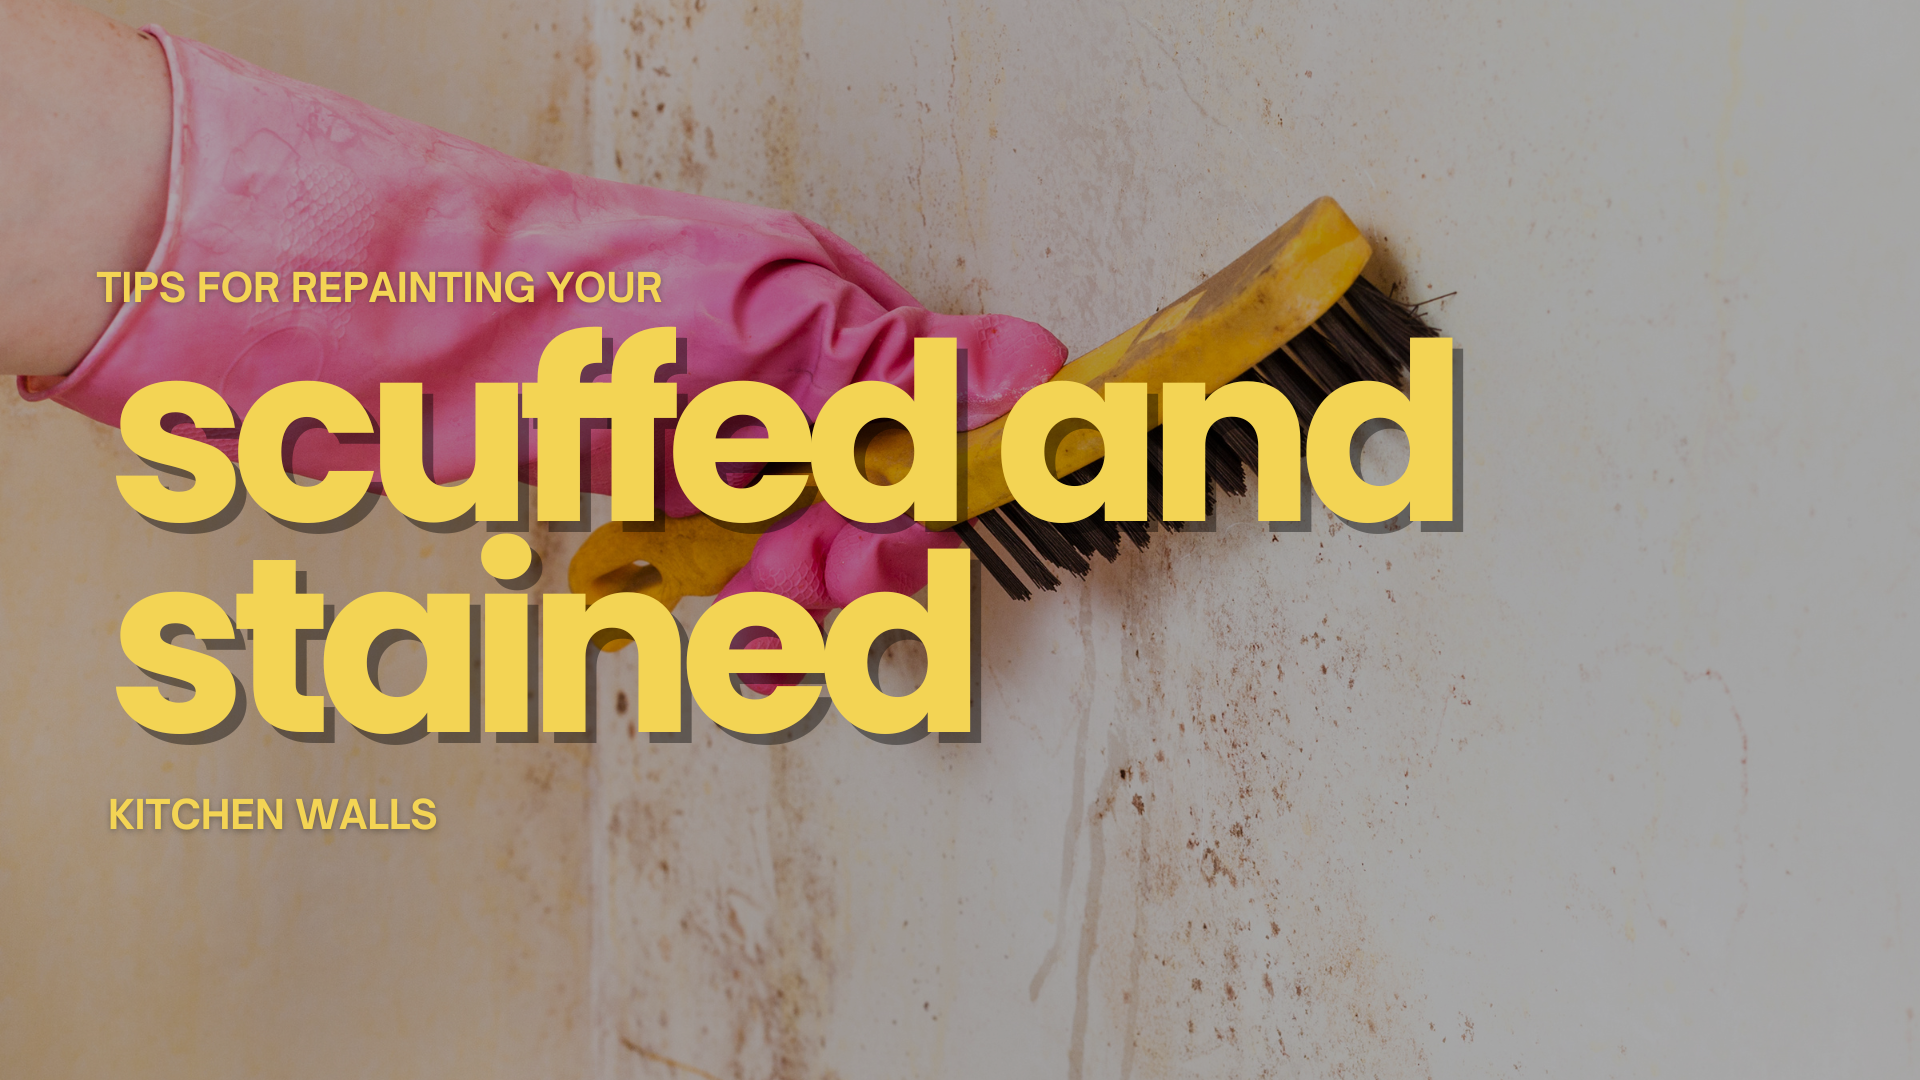
The preparation of the walls is still critical to the success of a painting project, the first step being cleaning. Most walls can be washed with a sponge and lukewarm water. The mold, if any, should be eliminated. The second step is to apply a primer.
Cutting In
When you plan to paint a room, you must first “cut” in, that is, paint the ceiling line, corners, windows, doors, moldings, switches, and sockets.
Dip the Roller in the Paint
Gradually dip your roll by rolling it along the raised part of the tray. Avoid submerging it completely. Repeat this movement until the roller is well soaked.
Application of the Paint Roller
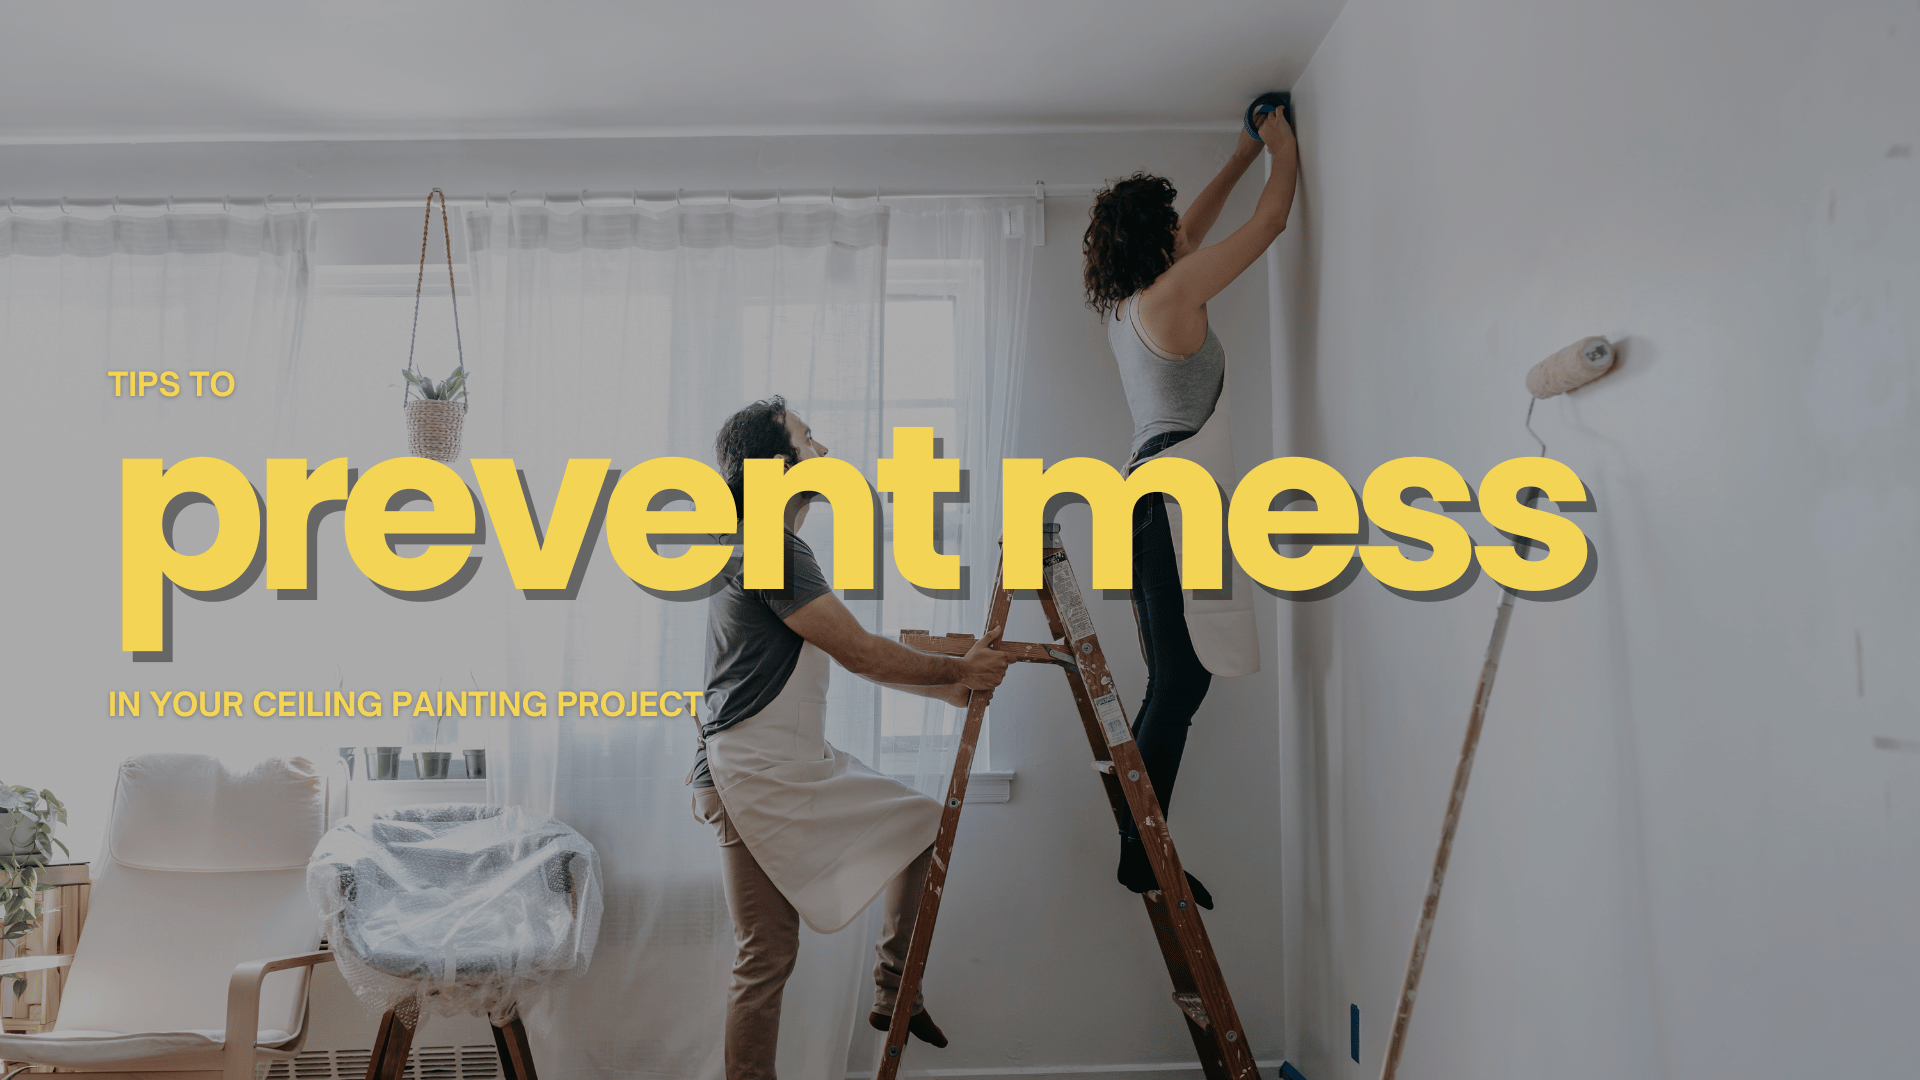
Begin each section by applying the paint from top to bottom, overlapping each of the parts by 7 to 12 cm. Apply light pressure while letting the paint and roller do the work. Too much pressure can cause sagging.
Re-Soak the Roller To Continue Applying the Paint
Each time you put paint on the roller, apply it on a new part from an unpainted place to a freshly painted place. Your extension rod should be long enough to allow you to reach the highest and lowest parts of the walls easily. Streak-free application of paint is vital to master. Start by avoiding painting two large sections at once. By sticking to small areas, you will be able to keep a wet edge – that is, apply the paint from an unpainted area to a freshly painted area – and create a smooth finish.
Drying and Applying a Second Layer
We recommend the application of at least two coats of finishing product to optimize its covering power and promote the integrity of the color. Check the drying times on the container and wait until the paint is completely dry before applying the second coat. Let the finish harden before replacing the light fixtures, wall sockets, or frames on the walls.
The Bottom Line
Painting is the easiest and cheapest way to transform your home almost instantly. It can boost the aesthetic appeal, make your walls easy to clean and maintain and protect your building against moisture damage and mold growth. Need professional help to repaint your home exterior? New Haven Painters can help. We offer affordable, reliable, and durable painting services in New Haven, Branford, Milford, Orange, North Haven, West Haven, East Haven, and the surrounding areas.
Book a FREE estimate below to get started, or call us
(203) 606-2346, so we can talk about your project.
The post Interior Painting New Haven, CT: Important Steps and Tips appeared first on New Haven Painters LLC - New Haven, CT.


CONTACT US
For more information, call or text us at (203) 606-2346 or fill out the form below.
Contact Us
Servicing All of Connecticut
NHP is an Affirmative Action/Equal Opportunity Employer.
Quick Links
Licensed • Bonded • Insured
#HIC.0645324