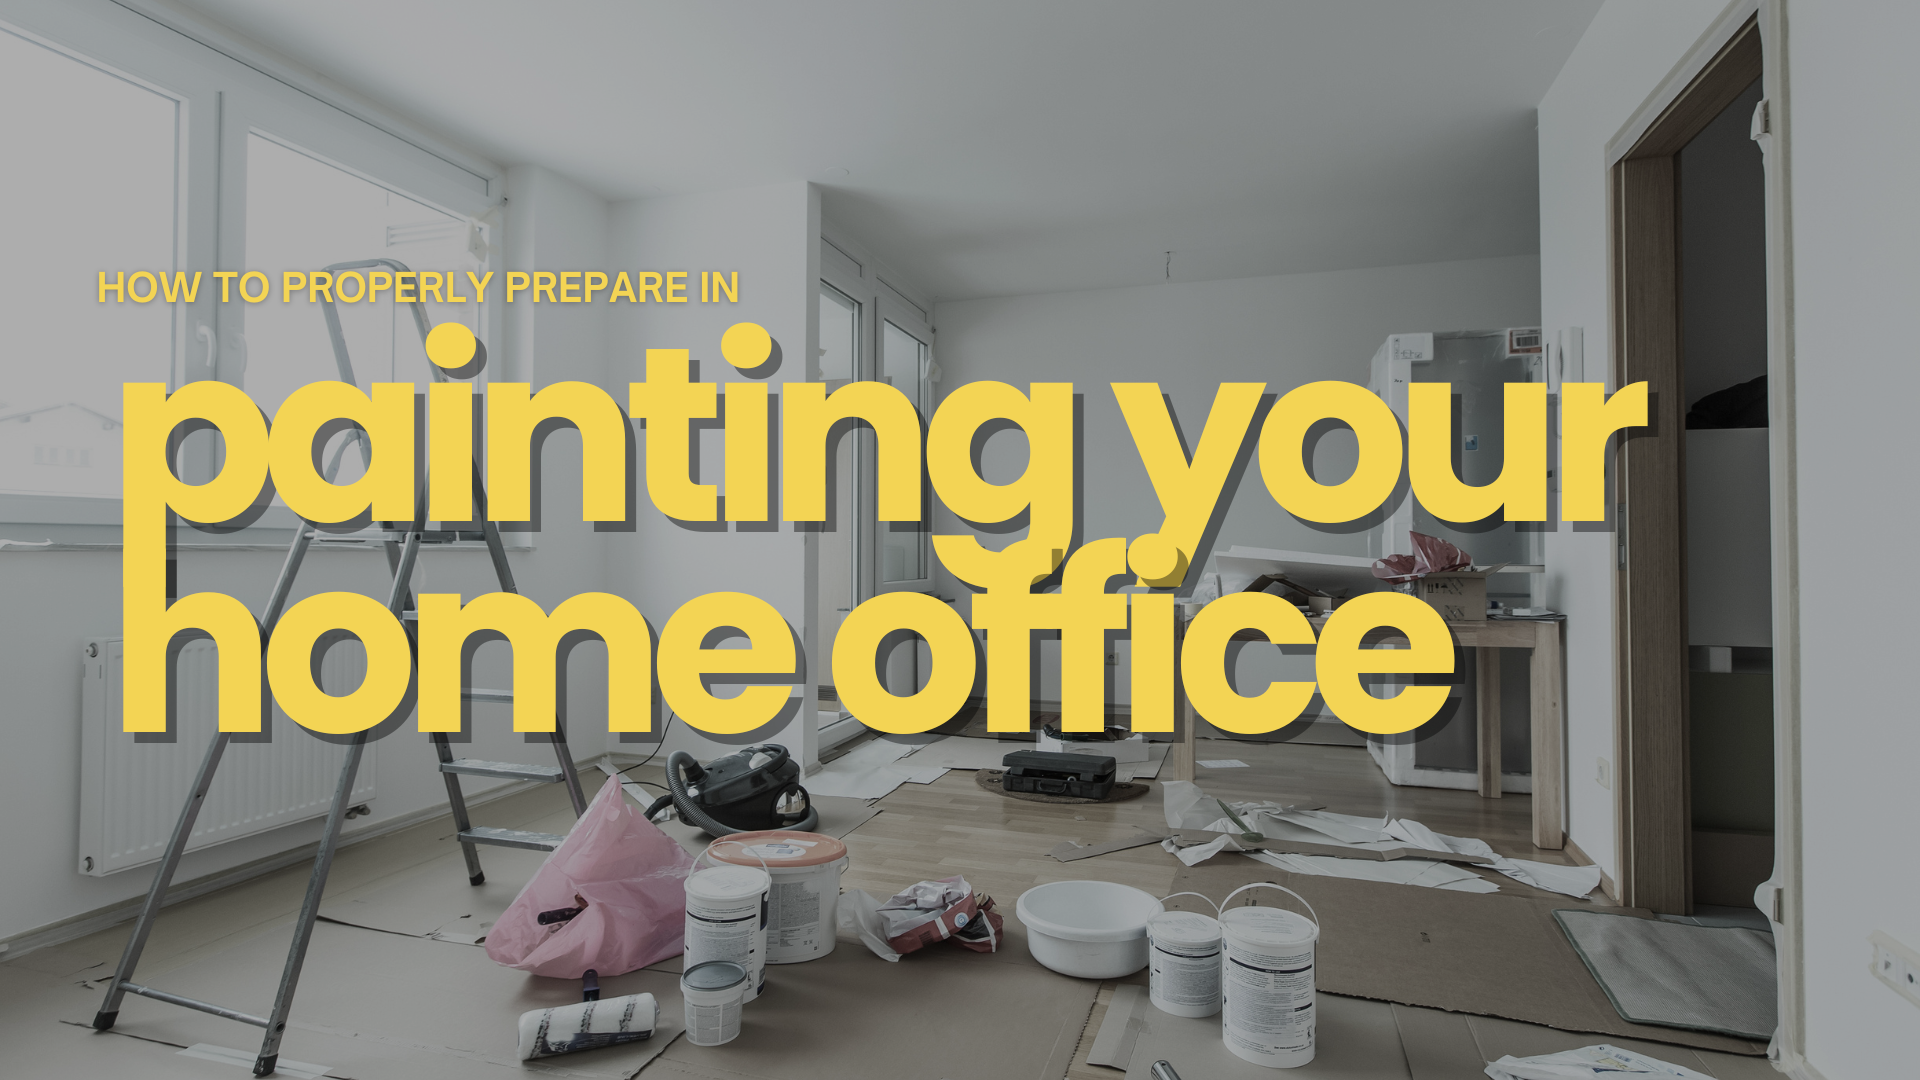
Doing a kitchen painting project is one of the most transformative ways that you can spruce up your kitchen - there's just a kind of magic a fresh coat of paint can bring onto a space.
However, doing a painting project can be messy, since you're going to be working with paint.
But, this is not to say that there aren't any measures you could take or tips you could remember to lessen the mess in your painting project.
So, if you are currently preparing for your upcoming kitchen painting project, here's something you might want to read!
Here are Tips To Avoid Mess In Painting Your Kitchen.
Prepare The Area
In doing a kitchen painting project, one of the most important things that you should do to avoid making any unnecessary mess is preparing the area for painting.
To begin, you should remove all movable items such as furniture, appliances, and decorations from your kitchen space, since they can serve as an obstruction to your area and potentially cause the mess you're trying to avoid.
If you cannot relocate larger items, cover them with drop cloths or plastic sheets to protect them from accidental paint splatters.
Additionally, use painter's tape to secure the edges of cabinets, countertops, and trim, preventing unintentional paint smears.
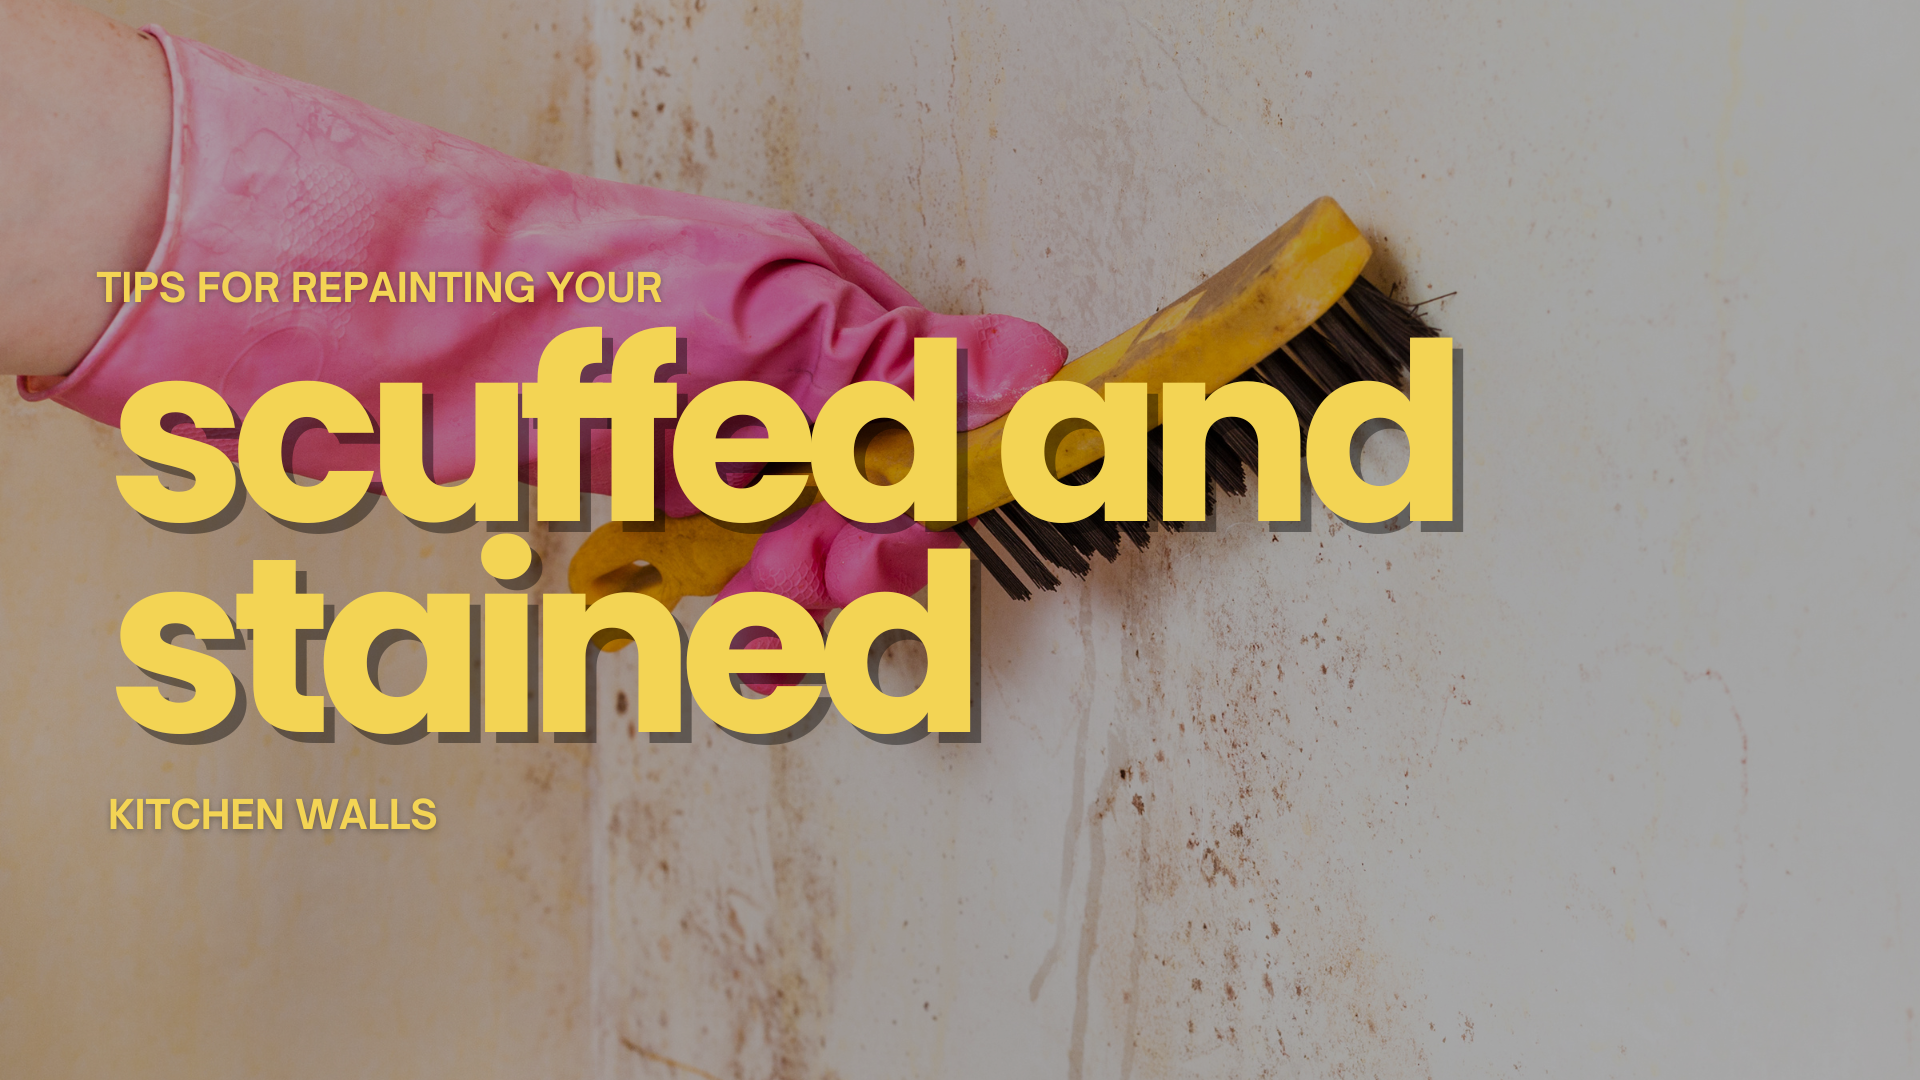
Also, before starting to paint your kitchen, you should clean your kitchen interior first.
Grease, grime, dust, or dirt that might have accumulated on your kitchen interior can hinder paint adhesion, which lead to messy, uneven results - thus, cleaning your kitchen interior prior to painting it is necessary.
To do this, you can use a mild detergent or degreaser to remove any accumulated dirt, and ensure the surfaces are completely dry before proceeding with the painting process.
Choose The Right Paint and Tools
It is important to remember that selecting the appropriate paint and tools is crucial for a mess-free kitchen painting experience.
Opt for a high-quality paint that is specifically designed for kitchen applications, as it will provide better durability and resistance to stains and moisture.
You'll also want to consider using semi-gloss or satin finishes, as they are easier to clean and maintain in a kitchen environment.
Additionally, investing in high-quality brushes and rollers can also make a significant difference in achieving a neat finish and reducing mess.
At the end of the day, quality tools will hold more paint, apply more evenly, and minimize drips and splatters - which create the exact kind of mess you're looking to avoid, so take your time to find the right tools that suit your needs!
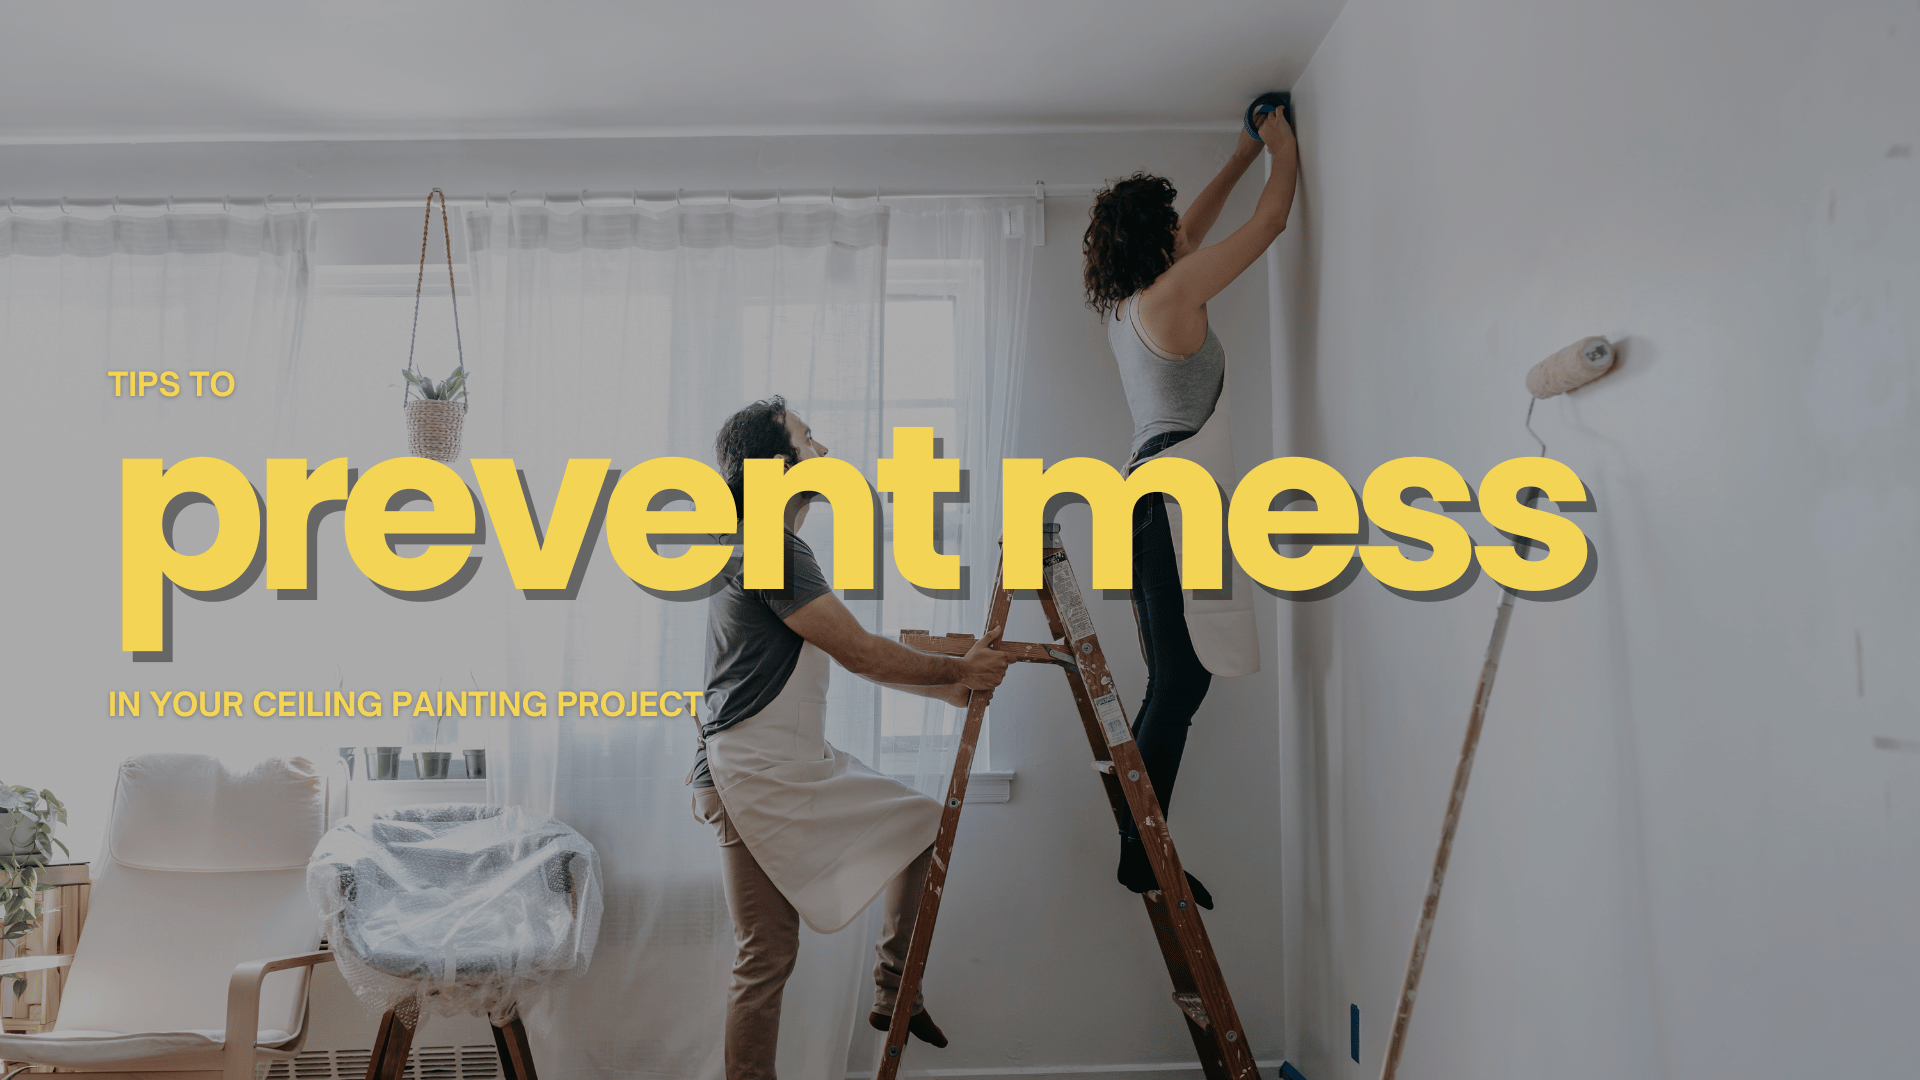
Use Proper Painting Technique
Proper painting techniques goes a long way in your painting project: it can help you minimize the mess while also create a professional-looking, and smooth paint finish.
So, you'll want to start by cutting in along the edges of the walls, ceiling, and trim with a brush- this technique will create a clean and crisp boundary, preventing paint from seeping onto adjacent surfaces.
When applying paint to larger areas, use a roller in a "W" or "M" motion to distribute the paint evenly.
You'll also want to be mindful of the amount of paint you apply on the roller to avoid excessive drips - which creates the mess you're avoiding and can be a hassle to clean up!
Additionally, to prevent splatters, you'll want to roll the roller lightly and evenly without applying excessive pressure.
Work In Sections
To make your painting process more efficient, you'll want to divide your kitchen into manageable sections and paint them one at a time.
By working in smaller areas, you'll have better control over your paint application process and prevents paint from drying too quickly.
It also helps you avoid accidentally touching wet paint when moving around the room, which can destroy your paint finish and leave an unsightly mark.
By diving your kitchen space into sections and following them in order, you can ensure a more efficient and organized process, minimizing the chance of creating a mess or leaving any areas unfinished.
Clean Up Immediately
After completing each section, it is essential to clean up any paint spills or splatters immediately.
Keep a damp cloth or sponge nearby to wipe away any accidental paint drips or smudges before they have a chance to dry, since most paint splatters are easier to remove when they are still wet, so swift action can save you from an extensive cleanup later.
Once you have finished painting, carefully remove the painter's tape while the paint is still tacky, but not fully dry, to ensure clean, sharp lines without risking any peeling or damage to the painted surfaces.
At New Haven Painters, we offer affordable, reliable, and durable painting services in New Haven, Branford, Milford, Orange, North Haven, West Haven, East Haven, and the surrounding areas for CT.
Book a FREE estimate below to get started or call us at (203) 606-2346 to talk about your project.
Related: Guide To Choosing A Paint Color For Your Bedroom Cabinets in Milford, CT
Tips For Preparing To Paint Your Living Room in Branford, CT


CONTACT US
For more information, call or text us at (203) 606-2346 or fill out the form below.
Contact Us
Servicing All of Connecticut
NHP is an Affirmative Action/Equal Opportunity Employer.
Quick Links
Licensed • Bonded • Insured
#HIC.0645324